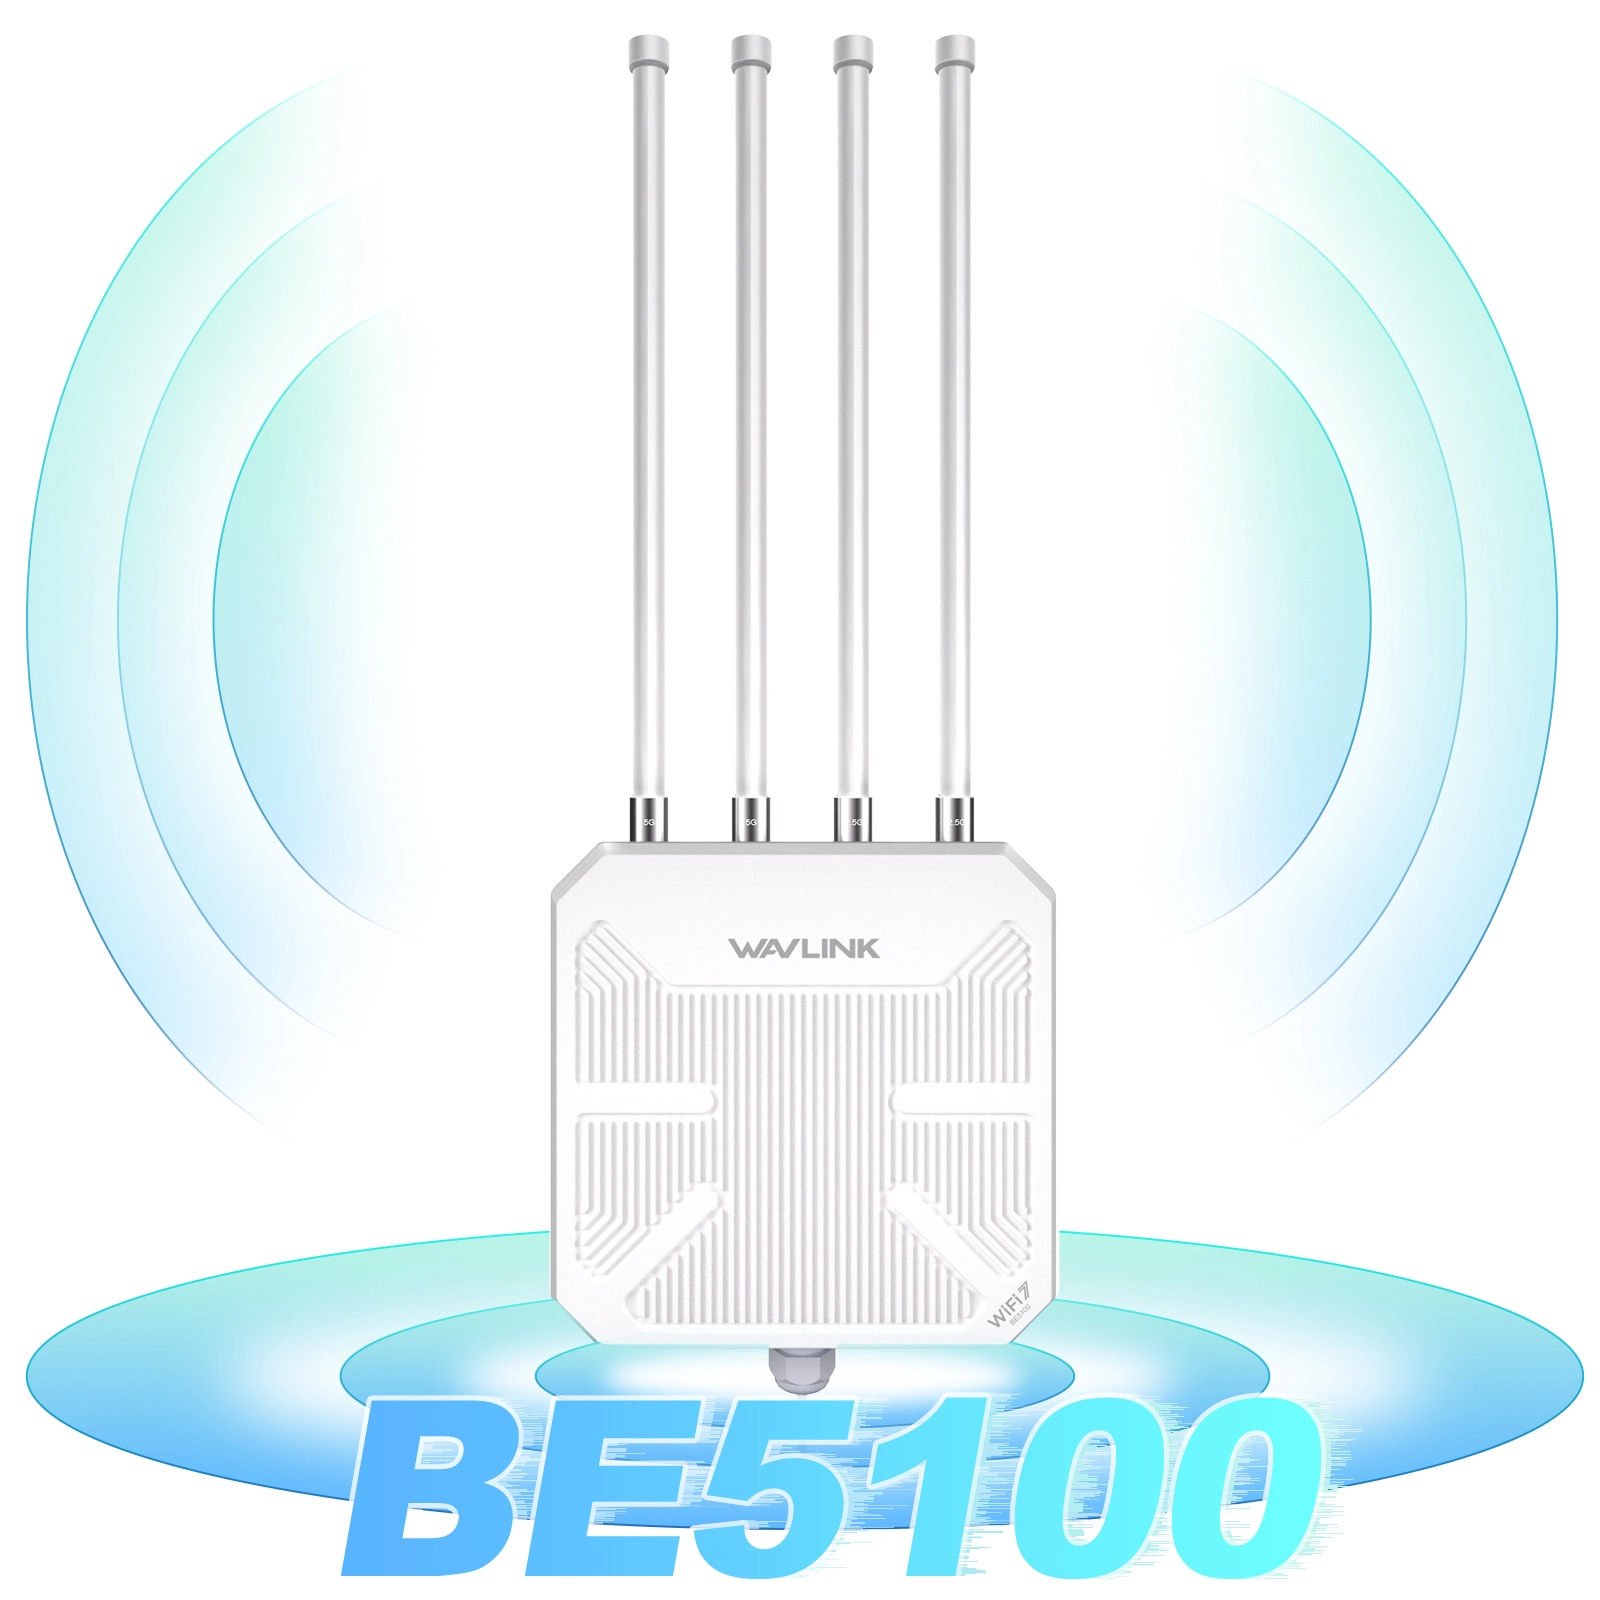
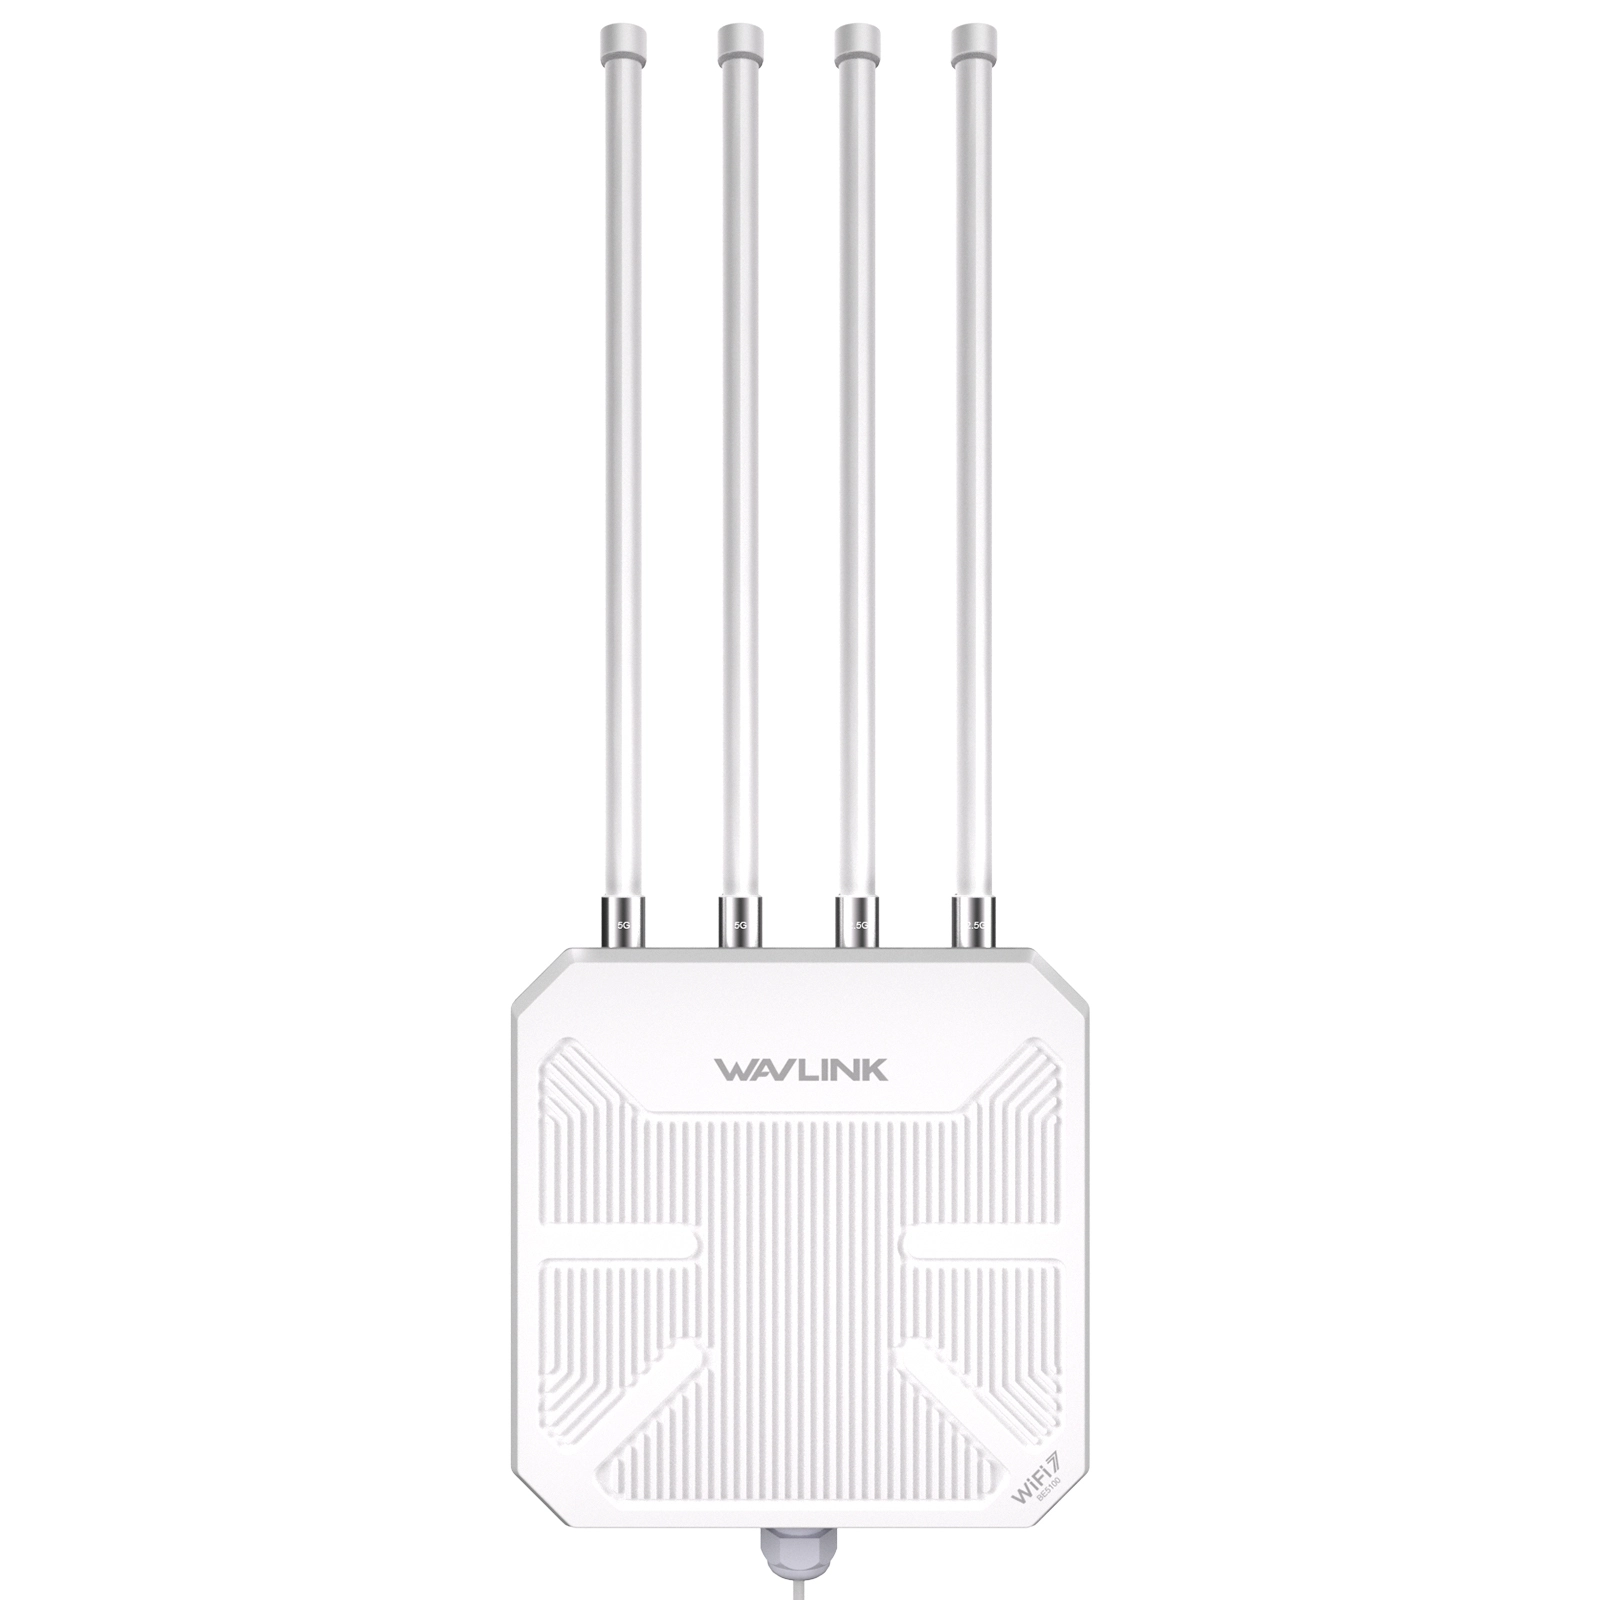
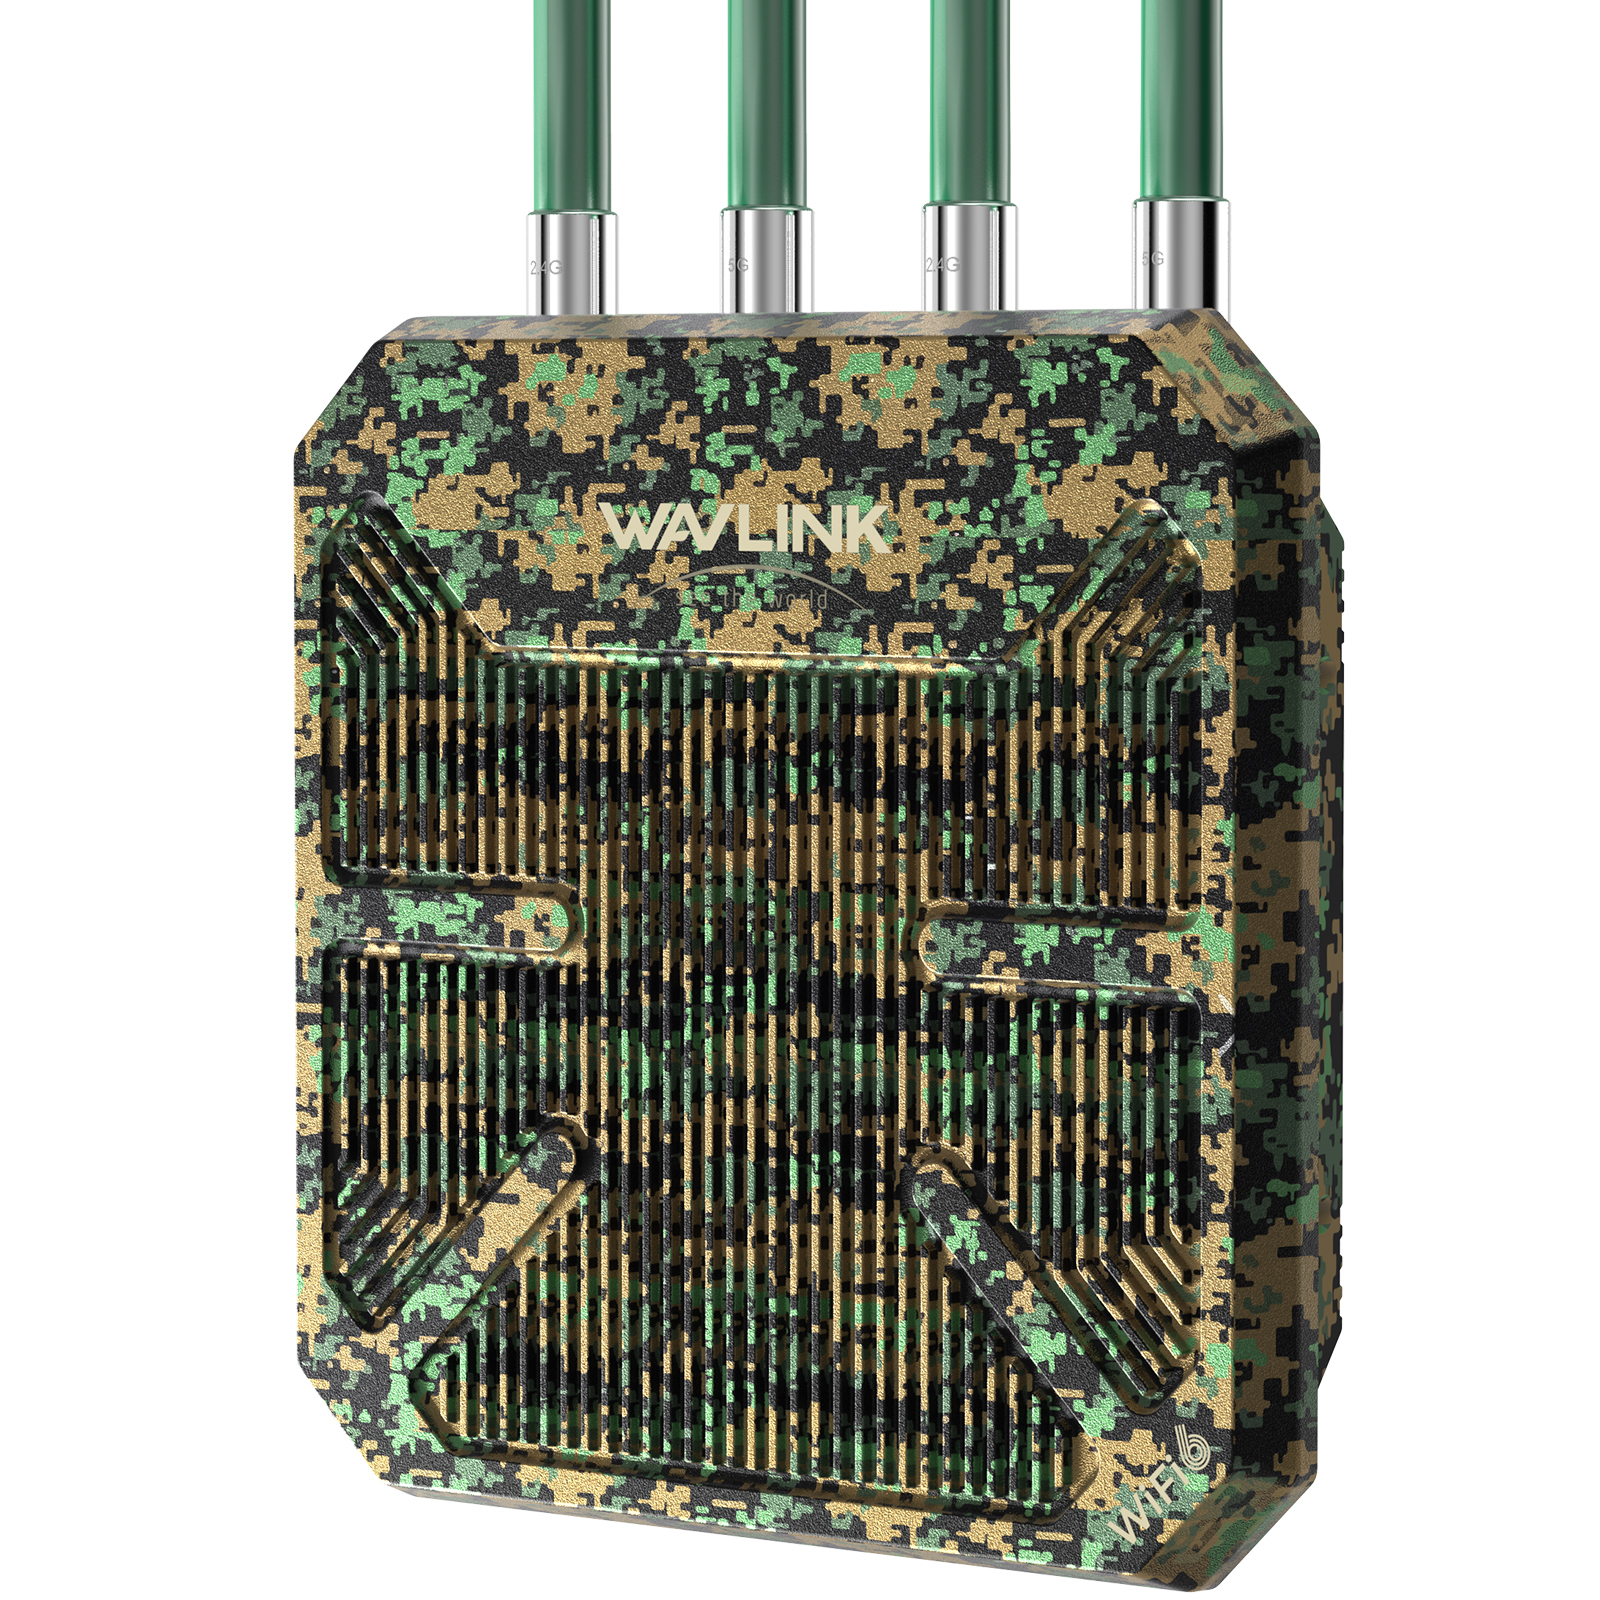
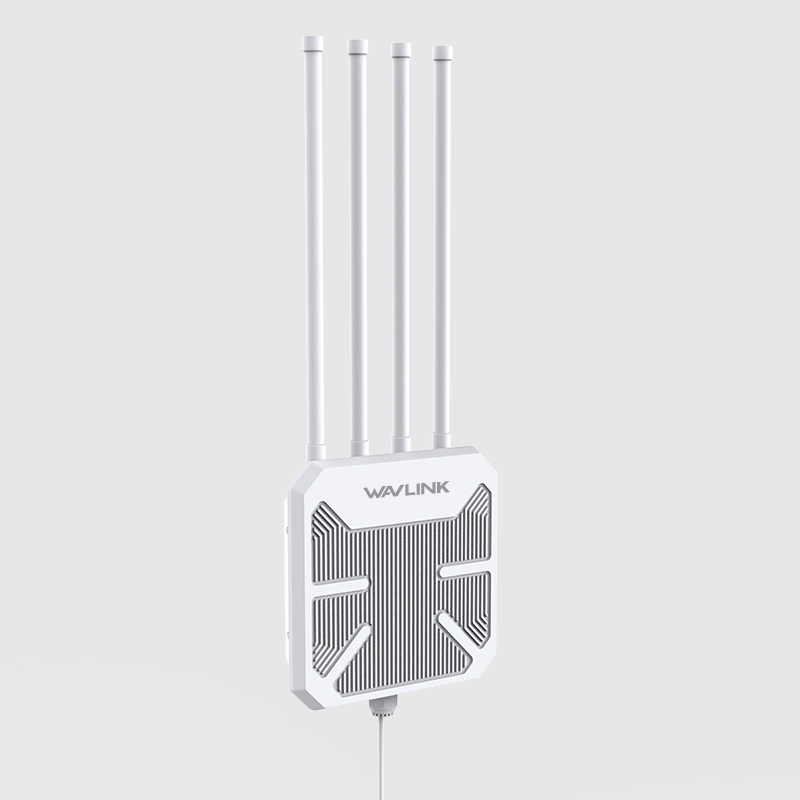





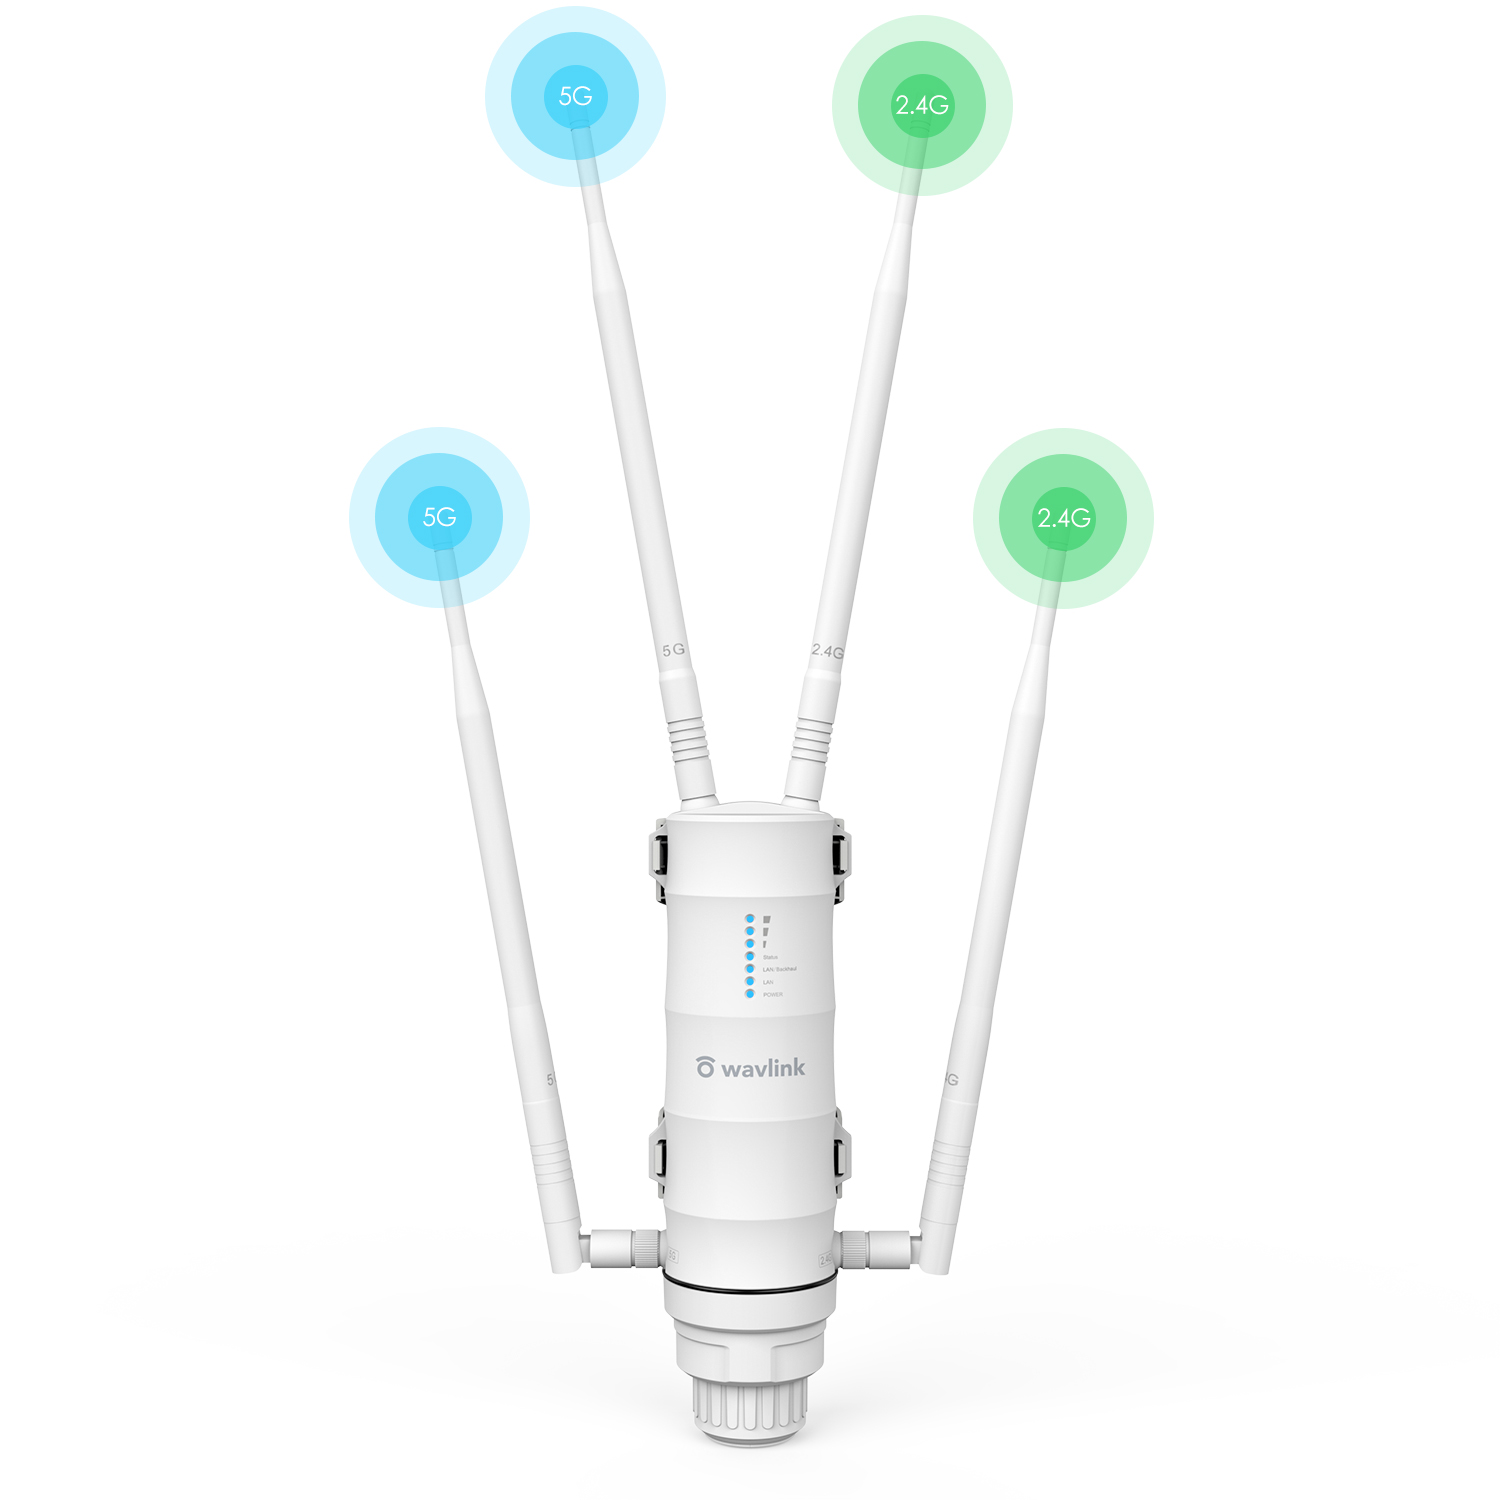
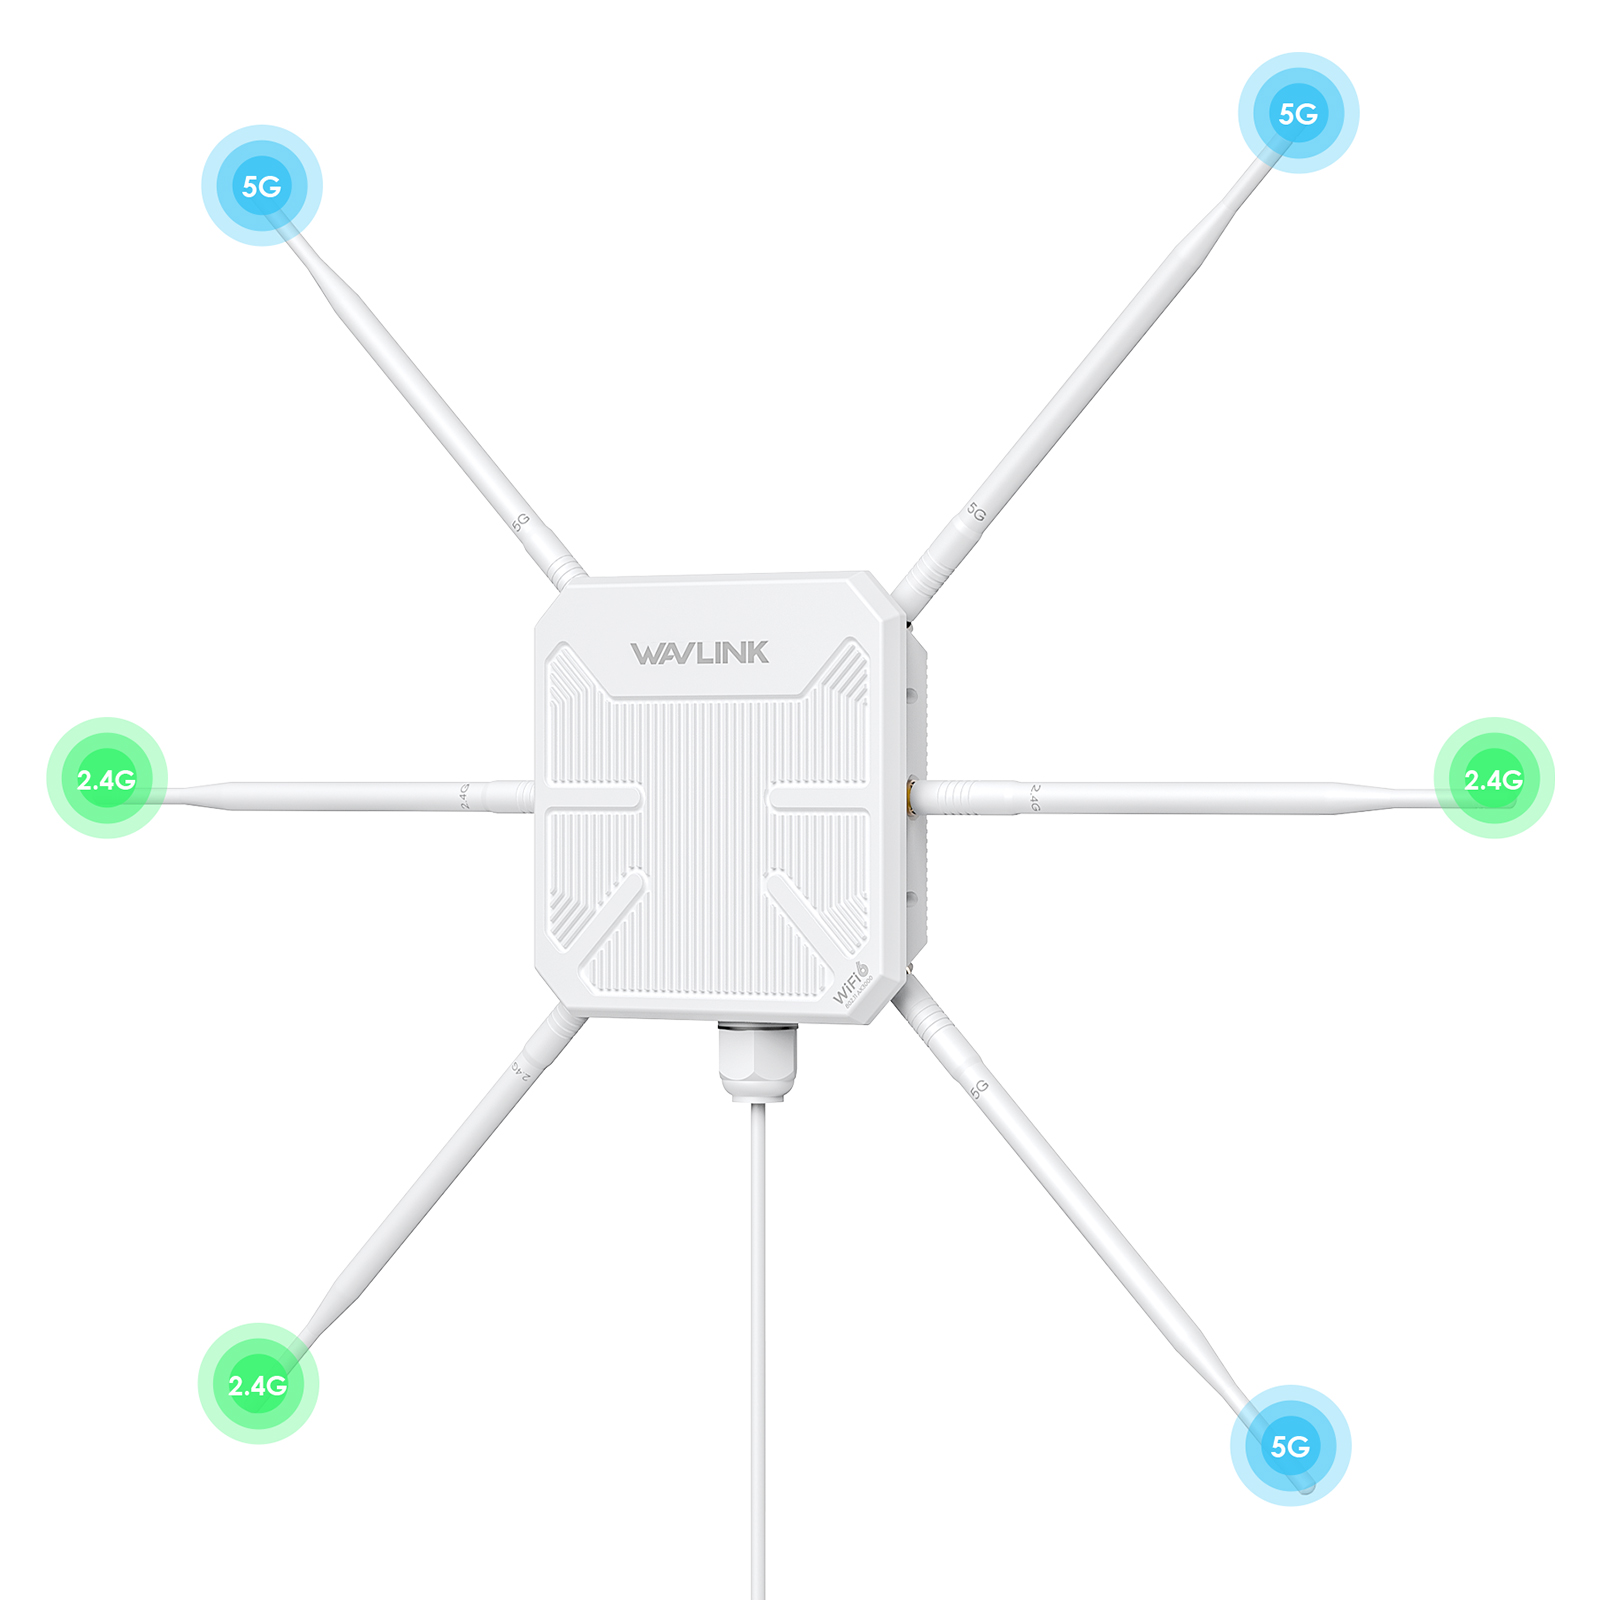
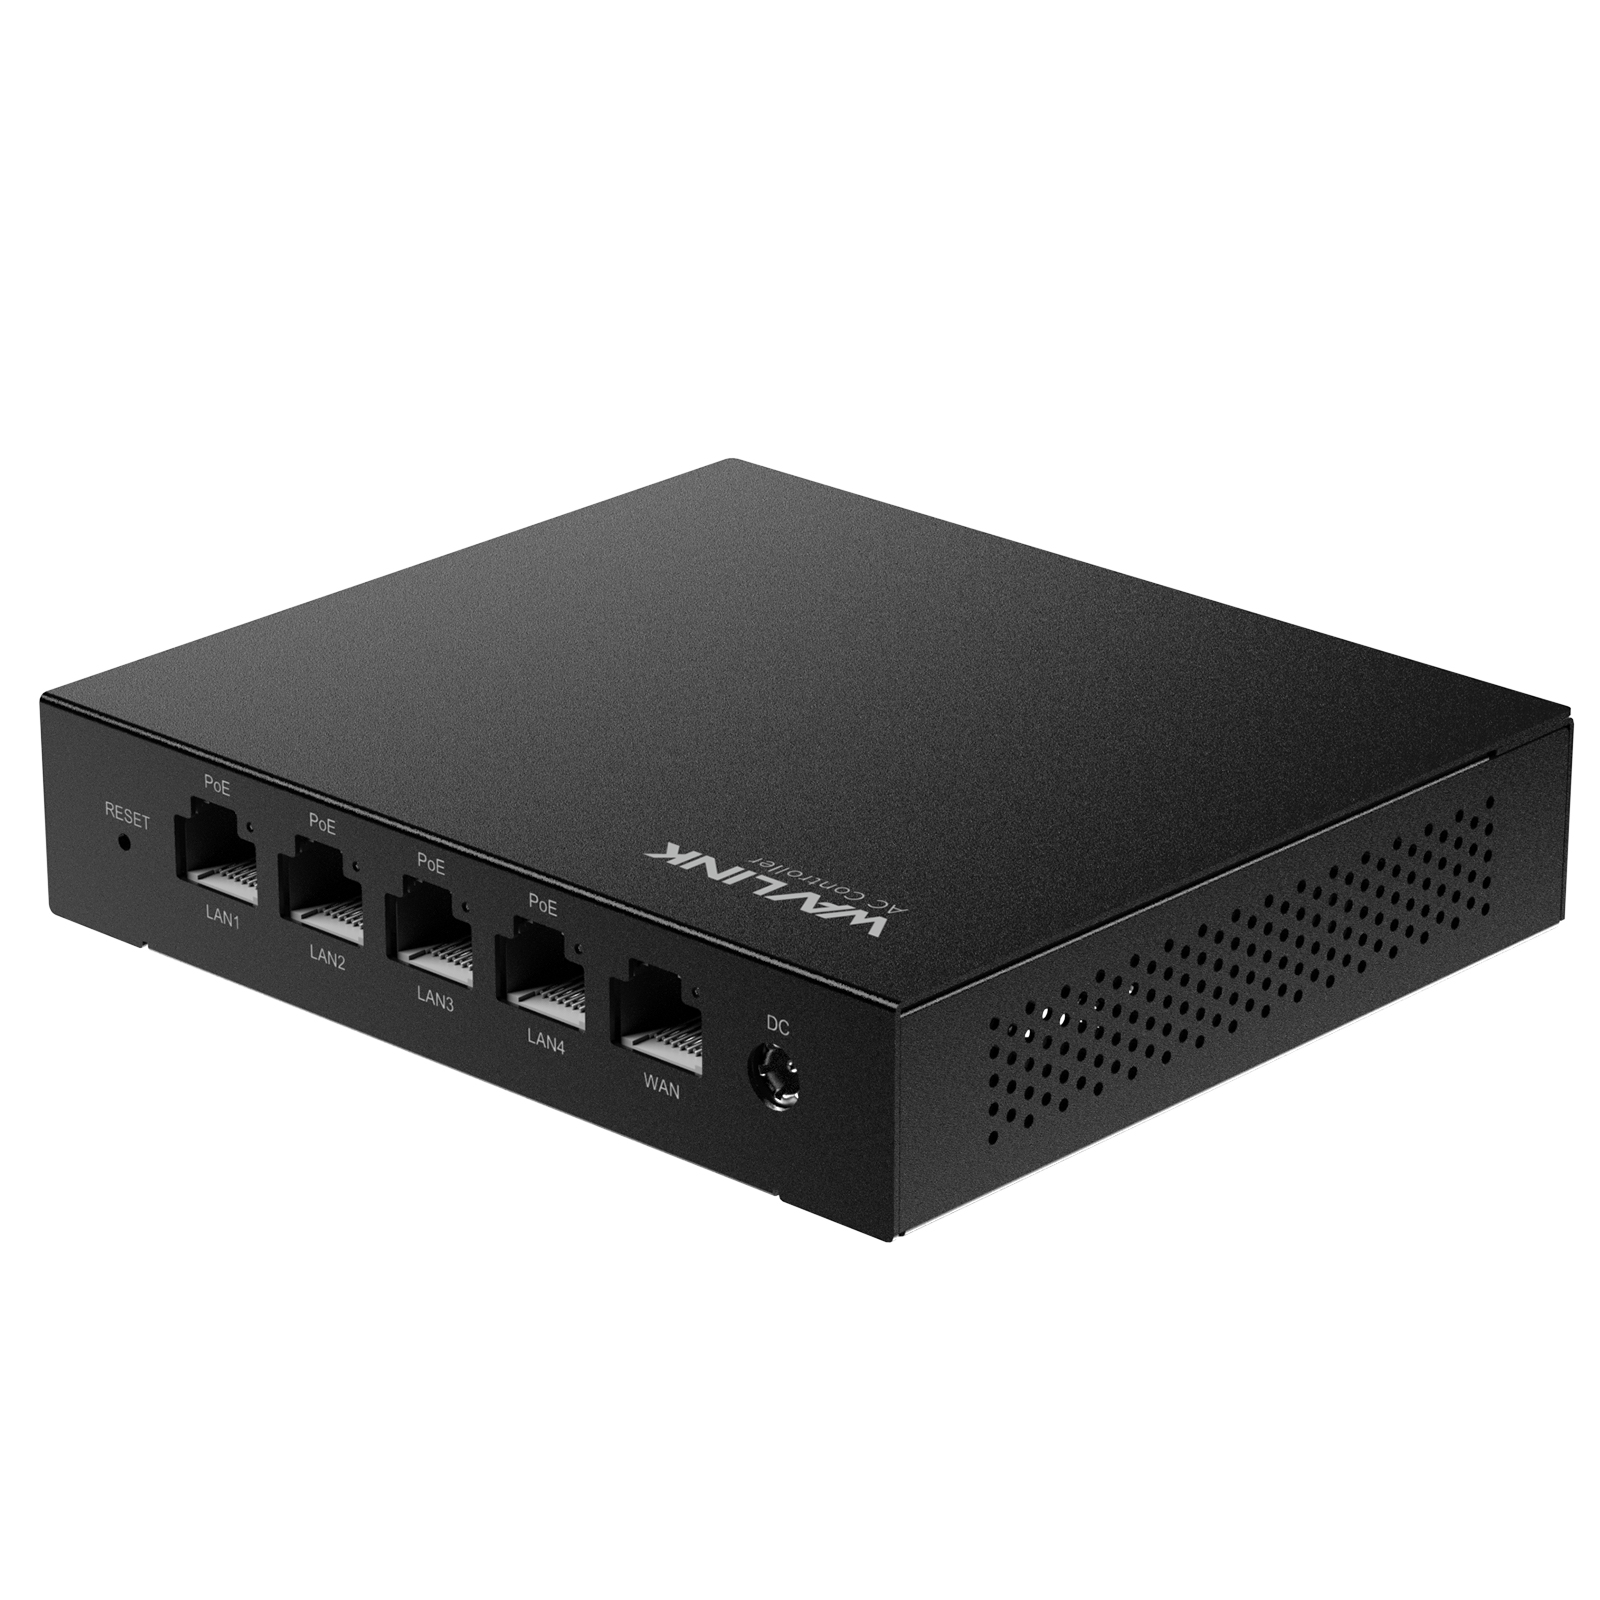

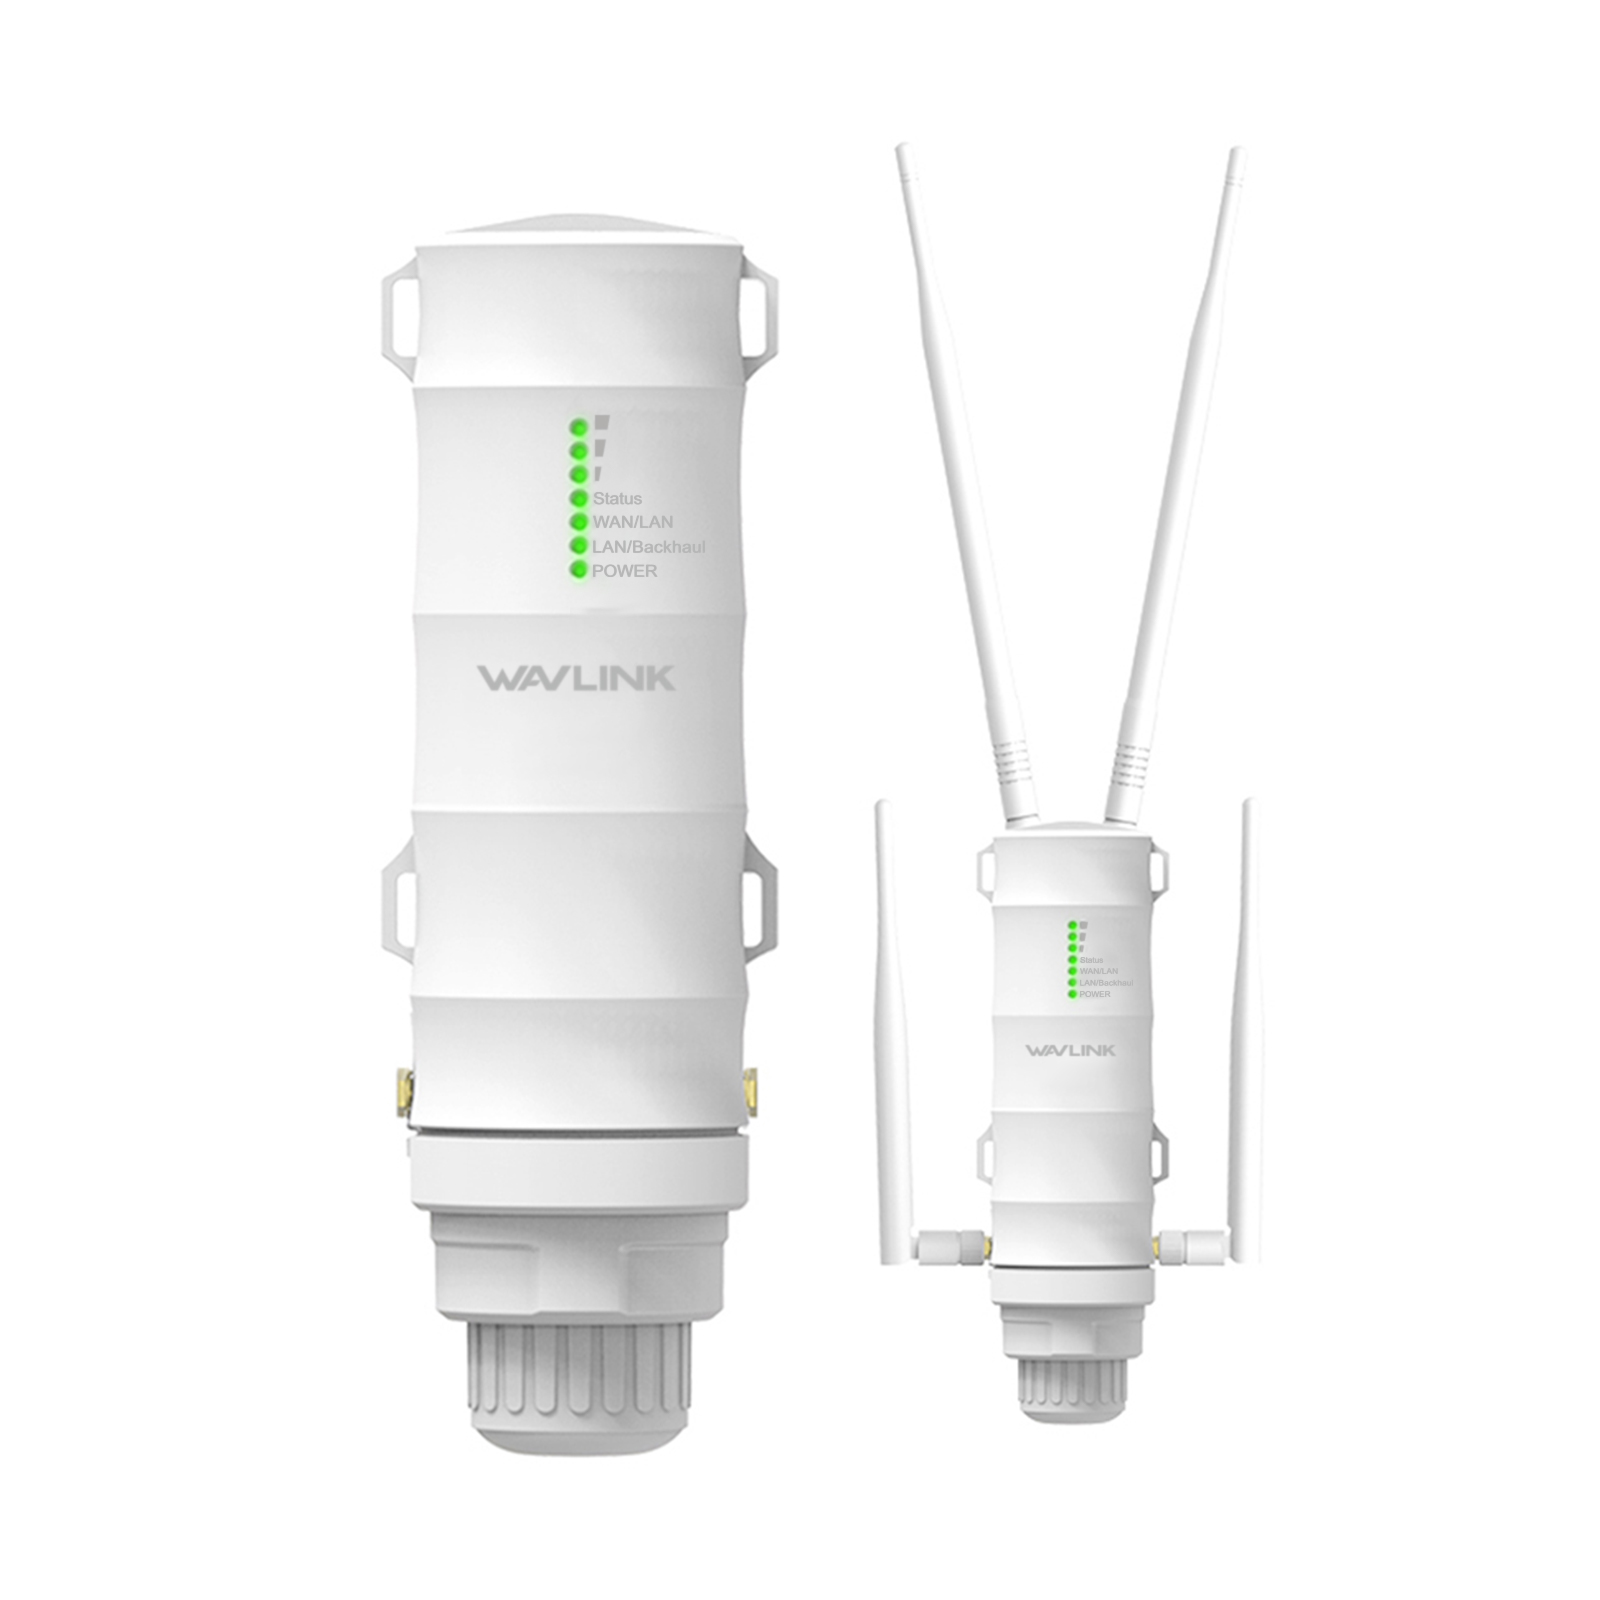
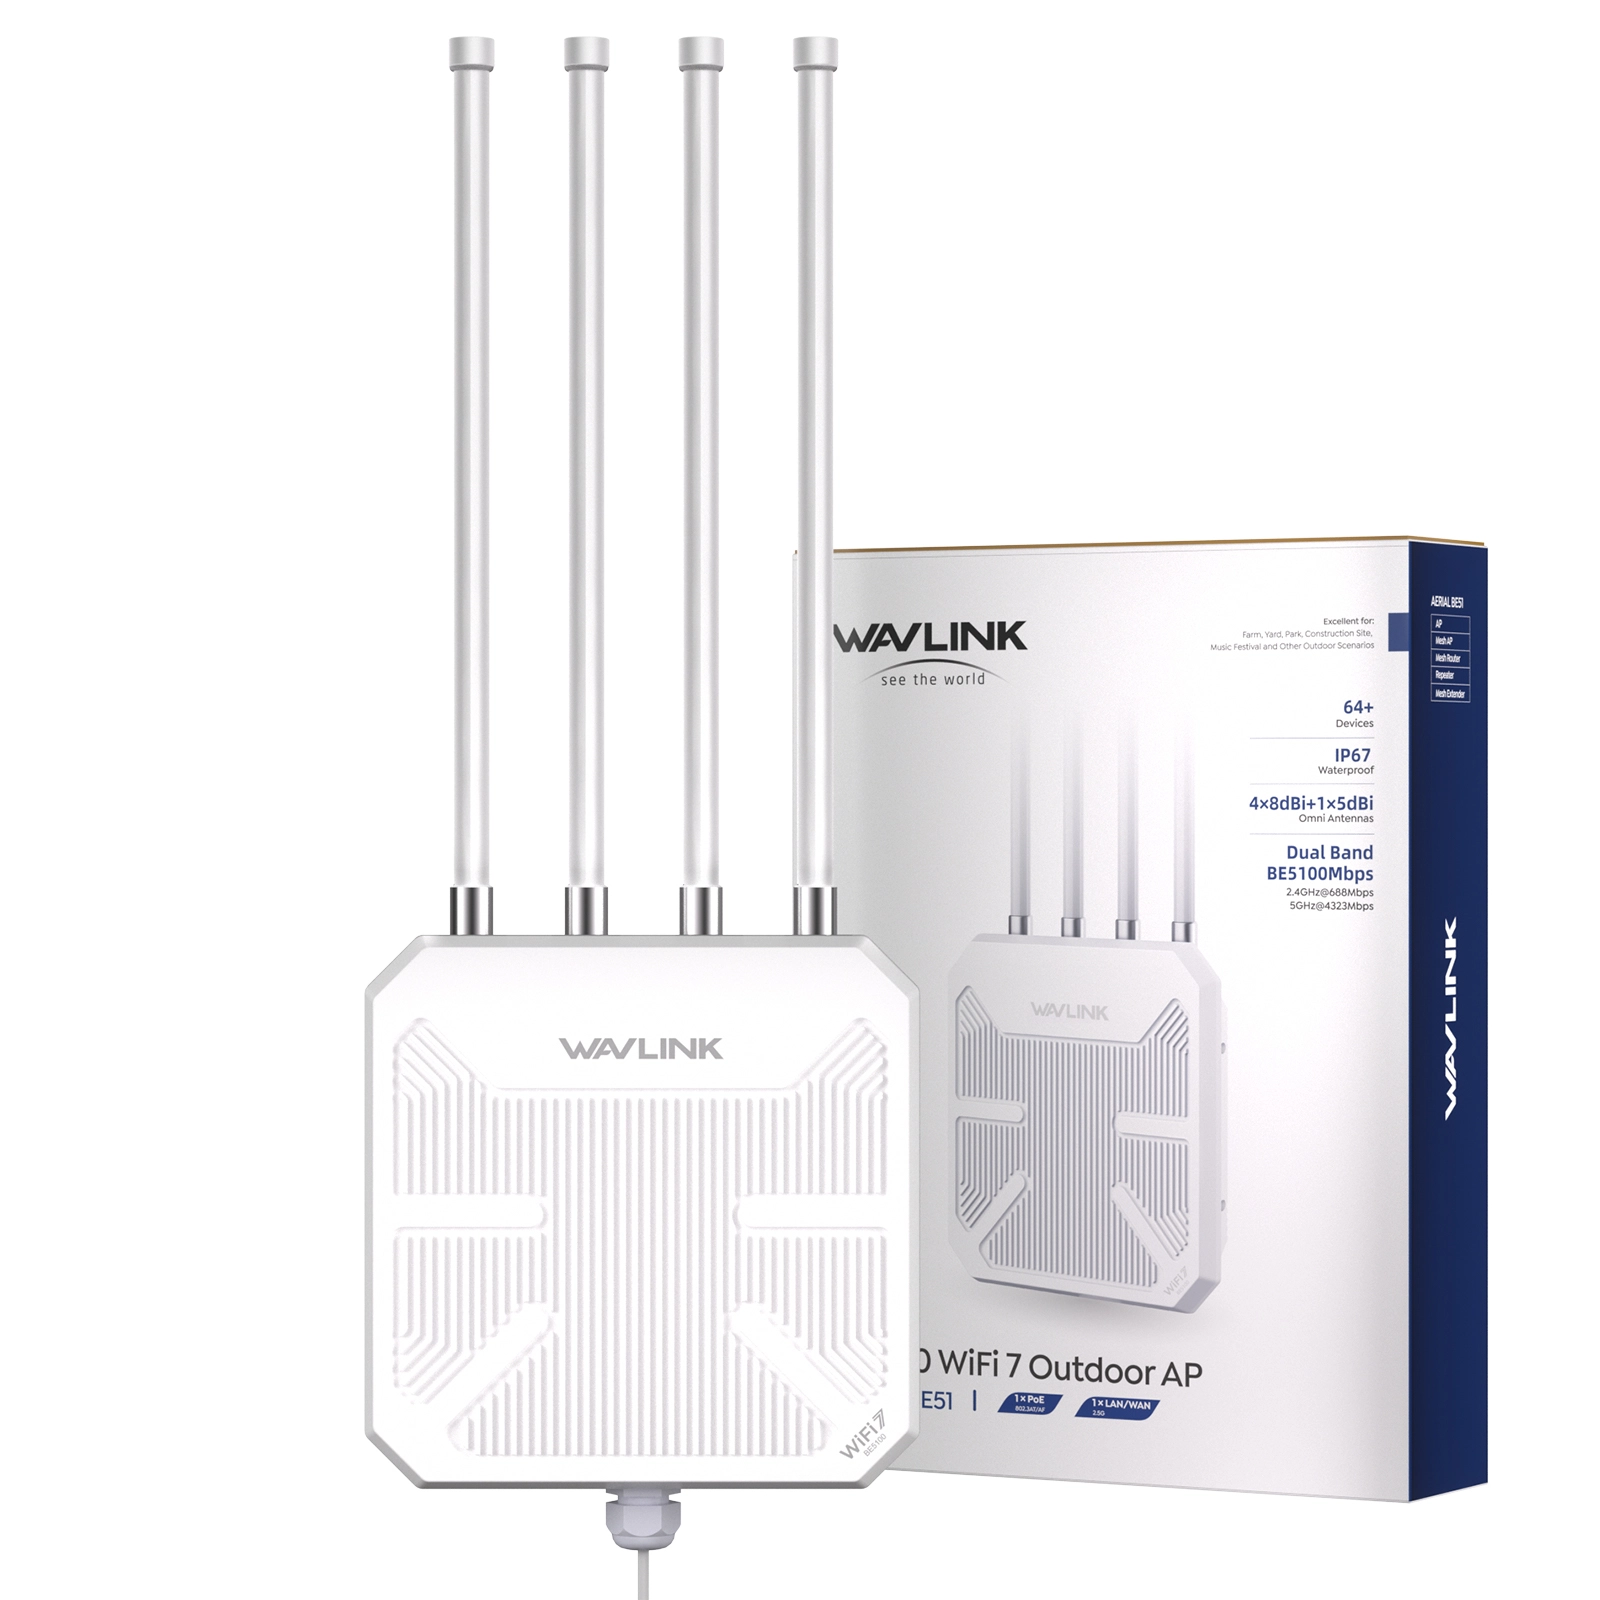
We just got our hands on the WN573HBE2 — WAVLINK's first WiFi 7 outdoor router. The target audience is pretty clear: farm owners, campus IT managers, campground operators, and anyone who needs reliable long-range WiFi across a large outdoor space. IP67 waterproofing, BE5100 dual-band throughput, dual-mode PoE, one-click mesh — the spec sheet looks solid.
But specs only tell half the story. What does it actually feel like out of the box? How hard is the install? How far does the signal really reach? This article walks through the whole process — unbox → mount → configure → speed test. If you've just ordered one, or you're on the fence, this doubles as your installation manual.
1. Unboxing: What's in the Box
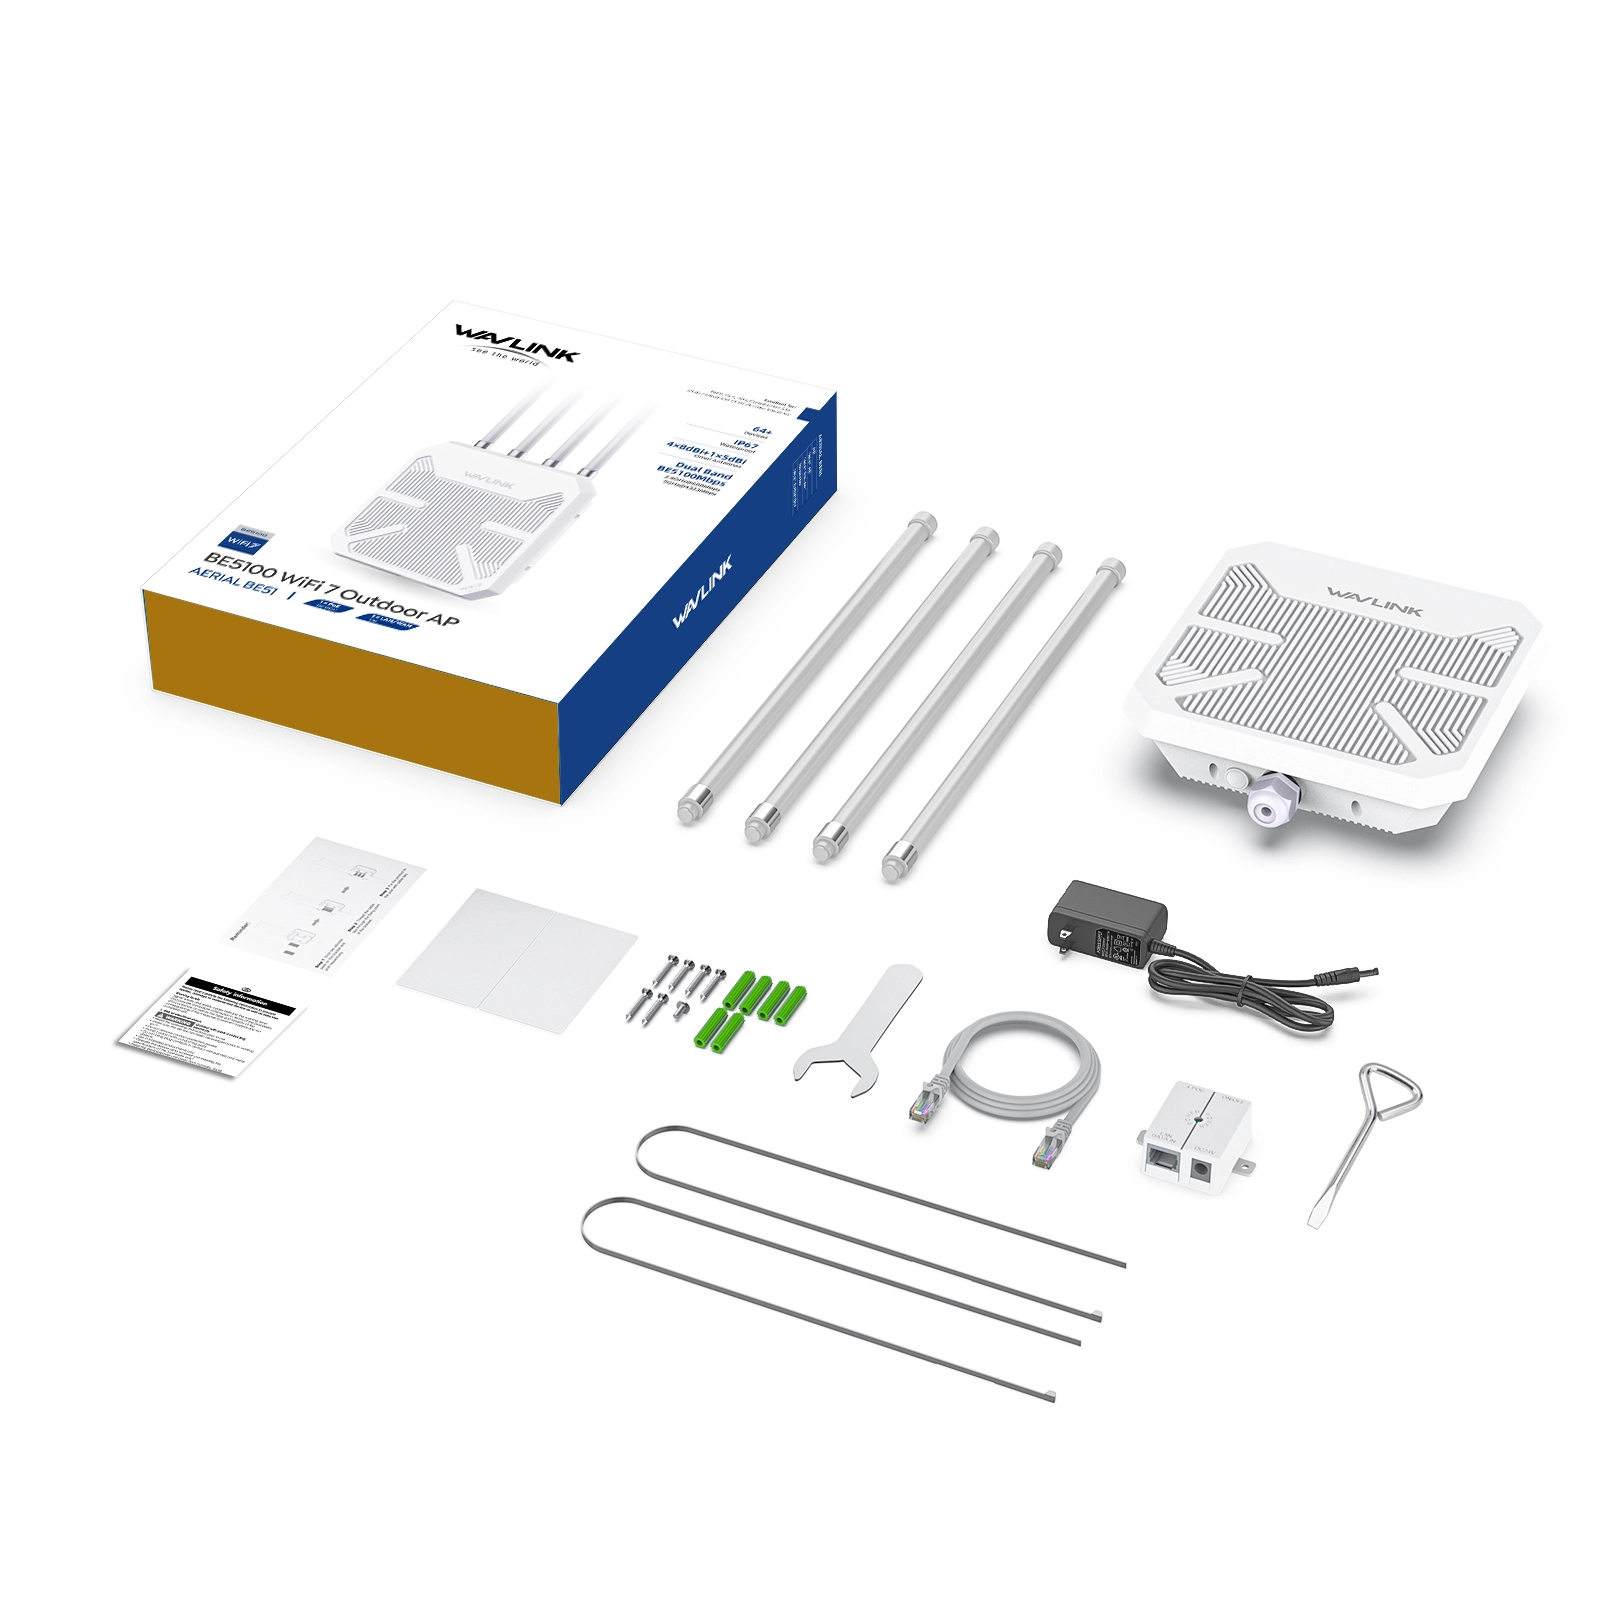
Inside the outer carton, everything sits in dense foam cutouts — each component has its own slot, so things aren't rattling around during shipping. The full spread:
- WN573HBE2 outdoor router ×1 — matte white housing, bigger than you'd expect, with real heft
- 8dBi high-gain omni-directional antennas ×4 — fiberglass, not the flimsy plastic sticks you see on indoor routers
- Stainless steel clamps + multi-function mounting bracket ×1 set — supports both pole and wall mounting
- Screws + wall anchors ×1 pack — for wall installations
- PoE injector (54V passive PoE) ×1 — note: this is indoor-use only, keep it dry
- Quick start guide ×1
- Cable ties + waterproof tape ×1 set — for cable management and secondary weather sealing
Bottom line: everything you need for a standard install is in the box. The only thing not included is an Ethernet cable — you'll need a Cat5e or better, which we'll cover below.
2. First Impressions: Build Quality & Design Details
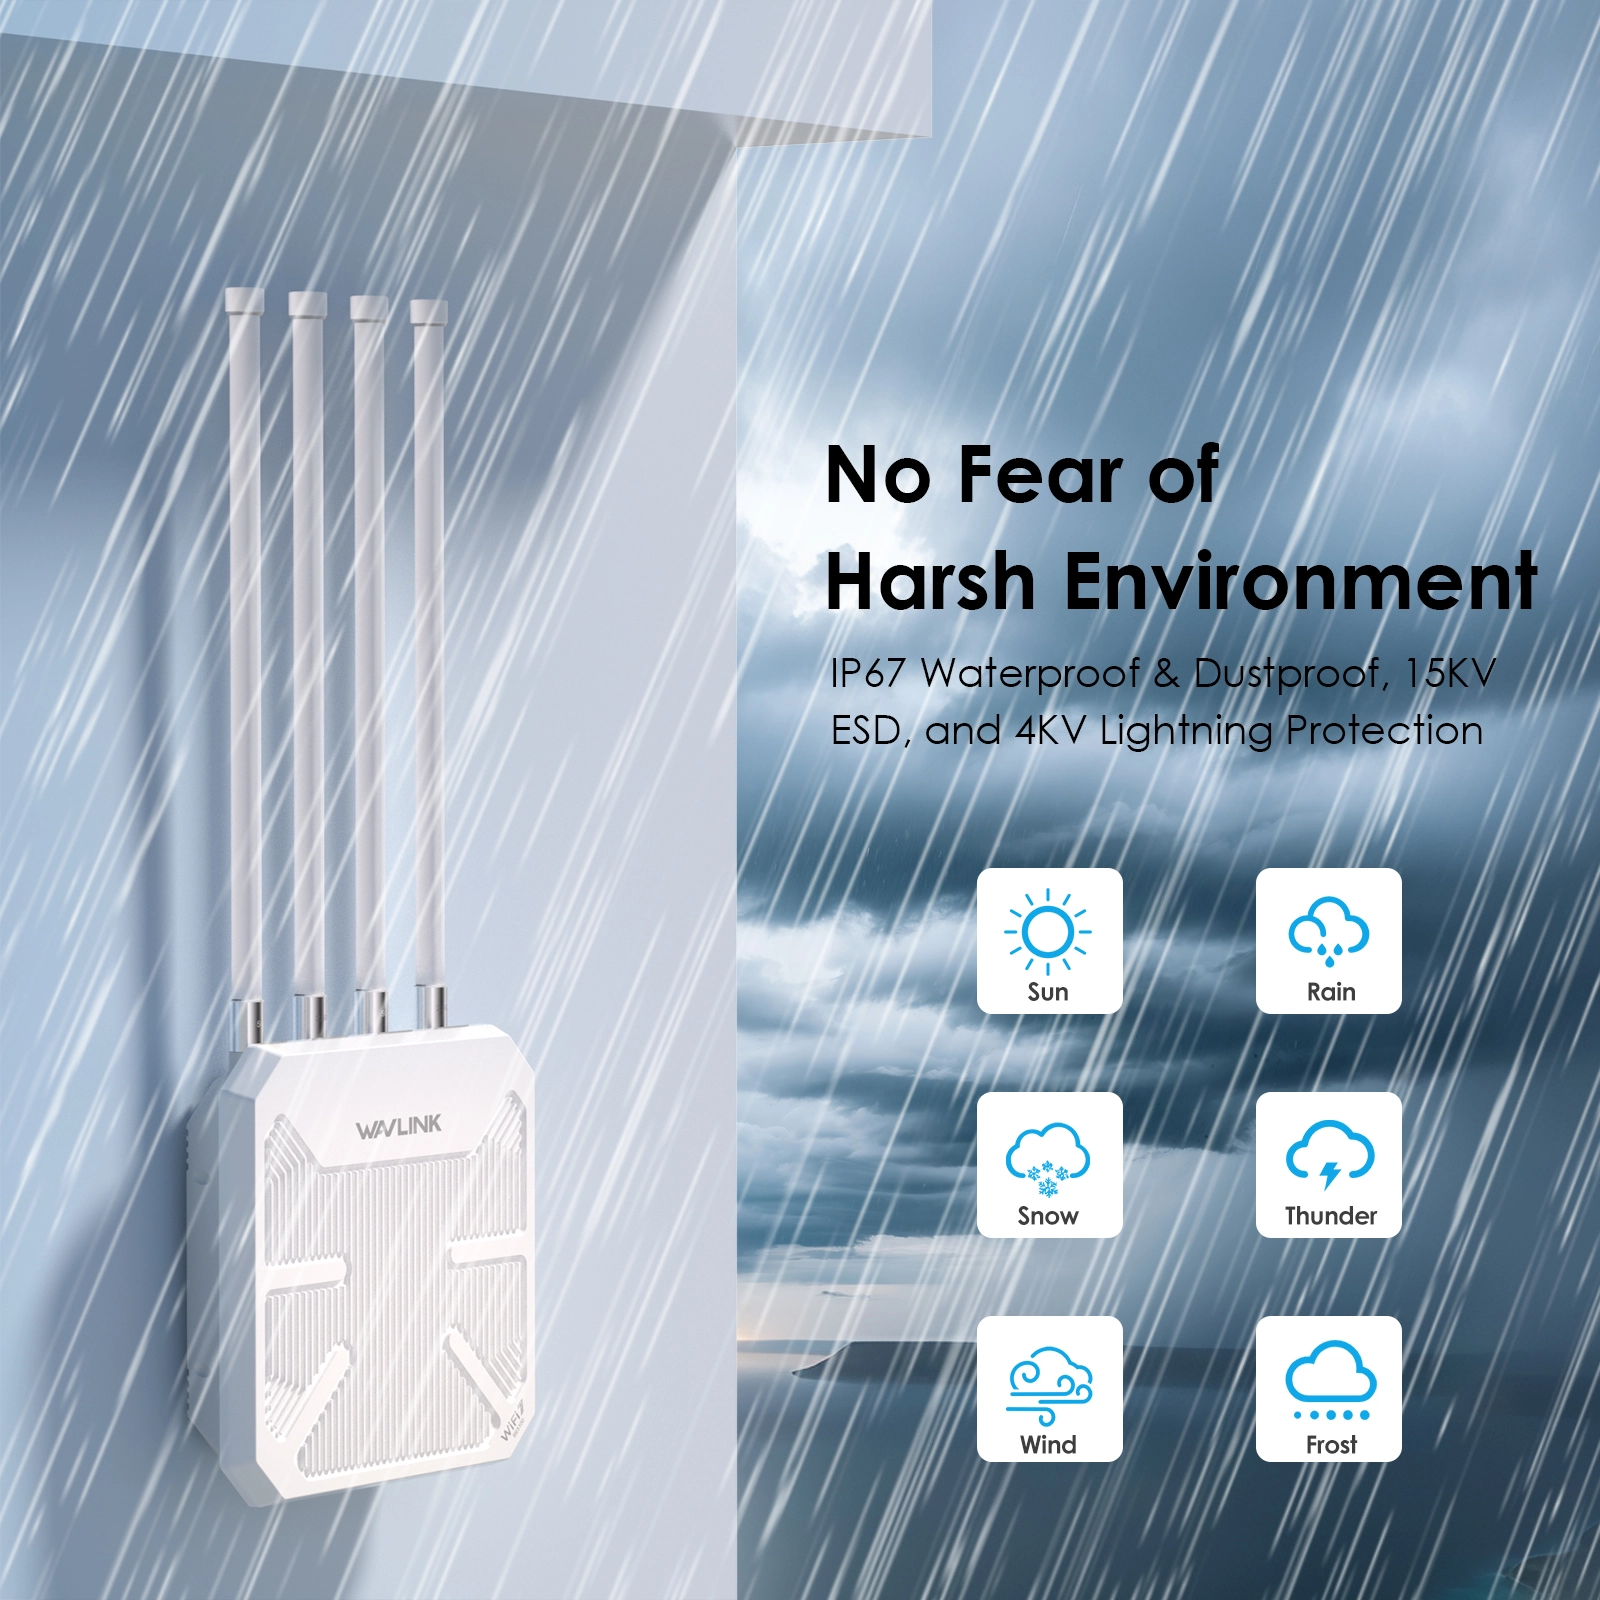
Pick it up and the first thing you notice — this thing is built. The housing is heavy-duty UV-resistant engineering plastic with a textured matte finish. No creaks, no flex when you press on it. The seal integrity feels serious.
A few design details worth pointing out:
- Pre-installed O-rings in antenna ports. Each of the four antenna connectors has a rubber O-ring already seated inside the port. When you screw the antenna on, it seals automatically — no separate gasket to drop, lose, or forget. Fewer parts means fewer failure points.
- Bottom-facing ports. All interfaces — the PoE Ethernet port, reset button, and waterproof cable gland — face downward. Rainwater and dust can't pool around them; gravity handles drainage passively.
- Downward-facing LED indicator. The status LED is on the bottom panel, not the front. When the unit is mounted 3 meters up on a pole, you can stand at ground level, look up, and see at a glance whether it's solid green (good) or blinking red (needs attention). Way more practical than a front-facing light you can't see.
- Cooling fins. The back of the unit has vertical ventilation ribs running the full height. It's not a metal chassis, but the surface area is generous. Under direct summer sun, this matters for long-term stability.
3. Before You Start: Tools & Materials Checklist
| Tool / Material | What It's For | Required? |
|---|---|---|
| Cat5e or Cat6 Ethernet cable | Connect router to PoE switch/injector; length depends on install location | ✅ Required |
| PoE injector (included) or PoE switch | Single-cable power + data; 54V passive PoE injector comes in the box | ✅ Required |
| Phillips screwdriver + adjustable wrench | Bracket screws, tightening the waterproof cable gland | ✅ Required |
| Power drill (wall mount only) | Drill holes for wall anchors | ⚠️ Wall mount |
| Ladder | If mounting above 2 meters | ⚠️ High installs |
| Smartphone or laptop | First-time router configuration | ✅ Required |
💡 Ethernet Cable Buying Advice
Type: If the cable itself will be exposed to sun and rain (no conduit), buy outdoor-rated Cat5e or Cat6. The jacket is UV-resistant and waterproof. Indoor cable left outside will turn brittle and crack within a year or two. If the cable runs entirely through conduit or punches straight through a wall, indoor cable is fine.
Length: Measure the actual cable route from your indoor switch/router to the outdoor mounting position before you buy — then add 2–3 meters of slack. The drip loop (covered below) eats some length, and corners consume more cable than a straight-line measurement suggests. Better to coil the extra indoors than realize you're 50 centimeters short mid-install. Standard Ethernet tops out at 100 meters per segment; beyond that, you'll need a PoE extender or a fiber media converter.
4. Step 1 — Attach the Antennas
The WN573HBE2 has four antenna ports on the back, each labeled 2.4G or 5G — clear and hard to mix up.
Installation is straightforward:
- Align each antenna connector with its port and tighten clockwise by hand until snug.
- Do not use a wrench — the brass threads can strip under excessive force. Hand-tight is enough.
- Of the four antennas, angle the two outer ones outward at roughly 30°; keep the two inner ones vertical. This configuration maximizes the 360° coverage pattern.
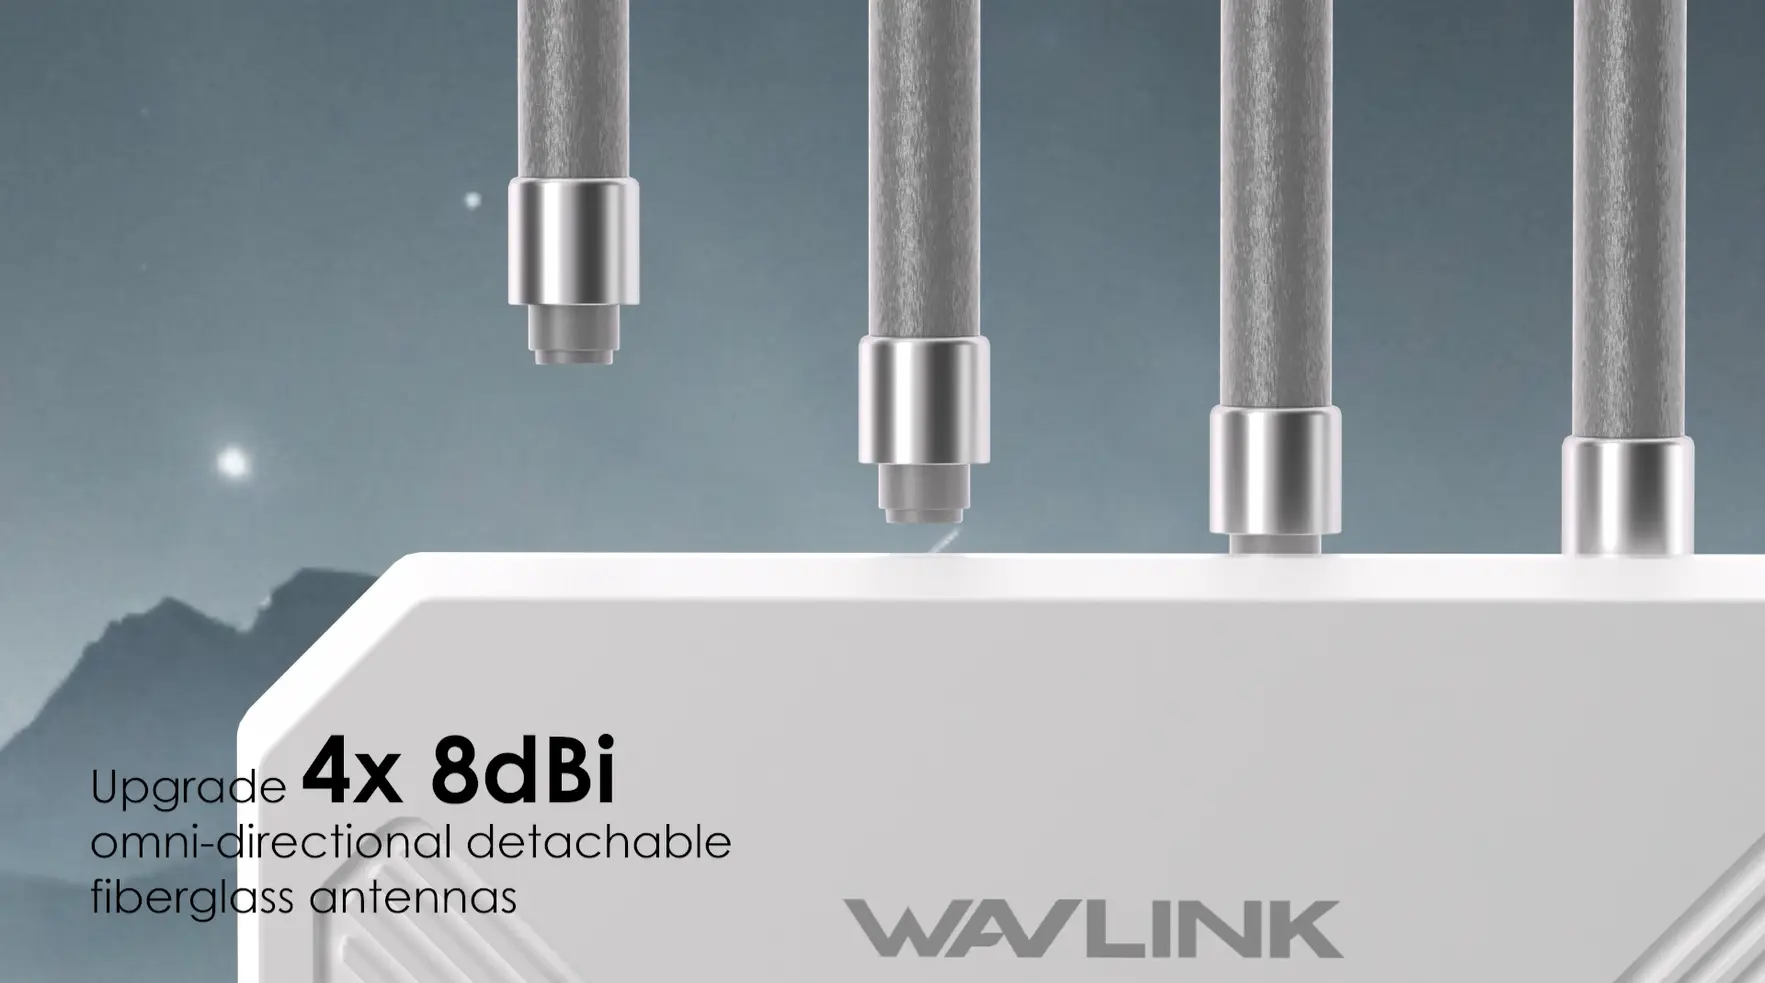
The antennas are fiberglass — not the plastic dipoles found on indoor routers. Fiberglass holds up against UV, salt spray, and temperature extremes without deforming. For outdoor gear left in the elements year-round, this material choice matters.
5. Step 2 — Mount the Bracket
Pick your location first. Three rules of thumb:
- Height ≥ 2 meters. Clear head-level obstructions. Higher almost always means farther coverage.
- Face the front toward your target area. Point the AP's front panel at where you want coverage, not sideways.
- Cable must reach. The mounting spot needs to be within Ethernet cable range of your indoor network (≤ 100 meters).
The included bracket handles two mounting styles:
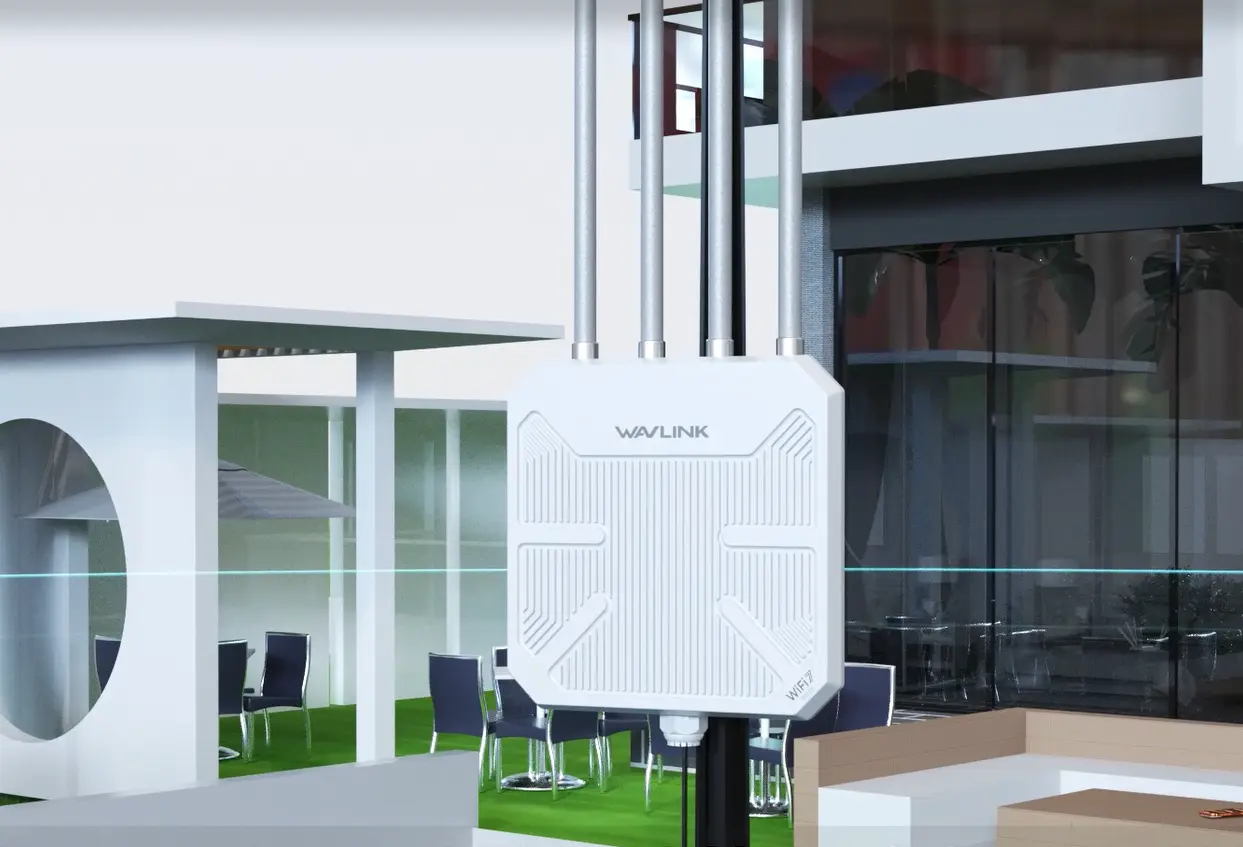
Option A: Pole Mount (No Drilling)
Best for lamp posts, utility poles, balcony railings, pipes — anything cylindrical up to 50mm diameter. How:
- Stick one silicone anti-slip pad on the inside of the bracket, one on the pole contact surface.
- Thread the stainless steel hose clamps through the bracket fixing points and around the pole.
- Tighten the clamp screws until the bracket is rock-solid.
- Slide the router down onto the bracket rail — it clicks into place.
Two minutes, zero tools. This is the recommended method for most installs: no holes in your structure, easy to remove later.
Option B: Wall Mount (Drilling Required)
Best for walls, wooden posts, concrete structures. How:
- Hold the bracket against the wall as a template; mark four drill holes with a pencil.
- Drill the holes, insert wall anchors.
- Screw the bracket in place.
- Slide the router onto the bracket rail.
About five minutes.
6. Step 3 — Route and Seal the Cable (This Is the Critical Step)
⚠️ From the manufacturer: After reviewing our warranty claims, the #1 cause of outdoor AP failure is not lightning strikes, not chip failures — it's water ingress through an improperly tightened cable gland. Please spend an extra 30 seconds on this step.
The WN573HBE2 has a waterproof cable gland on the bottom panel. Thread your Ethernet cable through in this exact order:
- Pass the cable through: hex cap → sealing plug → hex stud → sealing ring (order matters — don't mix it up).
- Plug the RJ45 connector firmly into the router's WAN/LAN port.
- Screw the hex stud tight onto the port housing.
- Push the sealing plug into the stud.
- Tighten the hex cap counterclockwise until you feel solid resistance, then give it one more quarter turn with the included wrench.
A properly tightened gland should grip the cable completely, with no visible gap. If you can wiggle the cable around easily, it's not sealed yet.
💡 Old-School Waterproofing Trick — The Drip Loop
Even a perfectly sealed gland can't save you if the cable itself channels rainwater straight into the connector. The fix is almost too simple: before the cable enters the device, loop it into a circle about 30 cm in diameter — 2 or 3 turns is enough.
How it works: rainwater running down the cable hits the lowest point of the loop and drips off. It never reaches the connector. Same principle as the service loop on overhead power lines — gravity does the work, zero cost, zero maintenance.
Do this at both ends: ① Outdoor end — loop before the cable enters the gland. ② Indoor end — loop before the cable enters the PoE injector or switch. This also catches any condensation that forms on the indoor side.
This was Wiring 101 thirty years ago, but modern tutorials almost never mention it. Ten seconds to loop the cable beats any "premium waterproof" accessory.
💡 How to Use the Waterproof Tape
The included waterproof tape is for secondary sealing: wrap it around the antenna connector bases (optional but recommended) and around the cable-gland junction for extra peace of mind. Stretch the tape to about twice its original length while wrapping — it'll self-fuse into a solid waterproof layer.
7. Step 4 — Power Up and First-Time Configuration
Wiring Order
Pay attention to the PoE injector ports — the one labeled "PoE" goes to the outdoor router; the one labeled "LAN" goes to your indoor router or switch. Swap them and the device won't power on.
- Outdoor cable → PoE injector "PoE" port
- PoE injector "LAN" port → indoor router / switch
- Plug the PoE injector into a power outlet
⚠️ The PoE injector itself is not weatherproof. Install it indoors.
Initial Setup
Once powered, the router's LED blinks for about 10 seconds, then goes solid green — system ready.
Connect your phone or laptop to the default WiFi (SSID is on the label in the box), or plug in via Ethernet. Open a browser and go to:
- waplogin.link (easier to remember)
- or 192.168.30.1
The setup wizard launches automatically on first access. Four steps and you're done:
- Set your WiFi name (SSID) and password — pick something you'll actually remember.
- Choose operating mode:
- Router mode: This device is your main router (connects directly to your modem/ONT for dial-up).
- AP mode: You already have a router; this device extends WiFi coverage only. (Recommended for most setups.)
- Mesh mode: You have multiple WAVLINK devices and want a seamless mesh network.
- Security: Leave it on WPA3 — the most secure option. Click next.
- Apply: The router reboots; settings take effect in about 30 seconds.
Need mesh? Make sure all WN573HBE2 units are on the same network, then go to Admin Panel → Mesh Settings → One-Click Pair. The entire mesh shares a single SSID — devices roam between nodes automatically without dropping connections. The WN573HBE2 is also mesh-compatible with WN586X3 and WN572HP3 (latest firmware required).
Which Mode? — One-Line Decision Guide
- This device plugs directly into your modem → Router mode
- You already have a router, just extending WiFi outdoors → AP mode
- Multiple WAVLINK devices, want seamless roaming → Mesh mode
8. Step 5 — Verify Signal and Coverage
Configuration done. Now grab your phone, walk to the farthest corner of your target area, and run a speed test.
What to Expect
- Clear line of sight: Usable signal at 200–300 meters (actual speed depends on environment and client device).
- One wooden wall / glass wall in between: Signal drops ~20–30%; still usable for video streaming.
- One concrete wall: 5 GHz won't make it through; 2.4 GHz might barely work. Consider adding a mesh node.
If Signal Is Weaker Than Expected, Troubleshoot in This Order:
- Antenna angles correct? Are the outer antennas angled outward ~30°? Are they facing the target area?
- Height sufficient? Try raising the router by just 1 meter — sometimes a single meter of elevation makes a noticeable difference.
- Metal obstructions? Any large metal objects between the router and your test spot (truck bodies, shipping containers, metal roofing)? Metal is the #1 WiFi signal killer.
- Try 2.4 GHz: Switch to the 2.4 GHz band in the admin panel. Better wall penetration at the cost of speed.
- Add a mesh node: If the coverage area is genuinely too large (e.g., a farm with 300+ meter depth), adding a second WN573HBE2 as a mesh node is the simplest solution.
9. Frequently Asked Questions
Q1: Can I install this without drilling any holes?
Yes. Use the pole-mount clamp method on any post, railing, or pipe up to 50mm in diameter — no drilling required. This is actually the recommended approach: no structural damage, easy to remove later.
Q2: Do I need to run a power cable outdoors?
No. That's the whole point of PoE (Power over Ethernet) — a single cable carries both data and power. The PoE injector stays indoors; the outdoor unit only needs the Ethernet cable. No hunting for outdoor outlets, no worrying about an outlet shorting out in the rain.
Q3: Will heavy rain or a thunderstorm damage the router?
The WN573HBE2 is IP67-rated — fully sealed against dust and able to withstand direct heavy rain and brief submersion (we tested it under a garden hose for 3 minutes straight; it never dropped a packet). It also has built-in 15KV ESD protection and 4KV lightning surge protection. But there's one caveat: the bottom cable gland must be properly tightened. That's the single water ingress risk point.
Q4: The LED is blinking red — what does that mean?
A blinking red LED usually means the router can't reach the upstream network. Check in order: ① Did you swap the PoE and LAN ports on the injector? ② Is the Ethernet cable to your indoor router loose? ③ Is your indoor router working? Most red-light issues come down to a loose cable connection.
Q5: How many devices can one WN573HBE2 handle?
The WN573HBE2 supports up to 256 concurrent clients. In real-world use, a single node performs best with 50–80 devices. For campgrounds or farms with many simultaneous users, spreading the load across a mesh network gives better results.
Q6: What if my cable run is longer than 100 meters?
Standard Ethernet (Cat5e/Cat6) tops out at 100 meters per segment. Two solutions for longer runs: ① add a PoE extender or switch mid-span as a repeater; ② use fiber optic cable with a media converter at each end (best for 200m+ runs). For most residential and farm installations, 100 meters is more than enough to get from the house to the far edge of the property.
Q7: How does the WN573HBE2 compare to a regular WiFi 6 outdoor AP?
Three core differences: ① WiFi 7 (802.11be) supports 4K QAM modulation and Multi-Link Operation — under the same signal strength, real-world throughput is roughly 40–60% faster than WiFi 6. ② The 2.5G Ethernet port means your wired backhaul won't bottleneck, which matters for multi-camera surveillance and live streaming. ③ Dual PoE mode gives you flexibility — use a standard PoE switch or the included passive injector. If you already own a WiFi 6 AP and it's meeting your needs, upgrading isn't urgent. But if you're building a new outdoor network, going straight to WiFi 7 is the better value.
10. Summary
The WN573HBE2 has a lower installation barrier than you'd think. No professional networking background required, no cabling license, no special tools beyond a screwdriver and a wrench. One person, 45 minutes, from unboxing to online. The only real gotcha: tighten that cable gland properly. Get that one step right, and this device is designed to sit outside through rain, snow, and sun for years without needing attention.
Who this is for:
- Homeowners with a yard, garden, or pool area that needs WiFi coverage
- Farm, orchard, and ranch operators needing remote monitoring + WiFi
- Campground, glamping site, and outdoor venue managers
- School playgrounds, parking lots, warehouses — any large open space
→ Shop the WAVLINK WN573HBE2 WiFi 7 Outdoor Router
By WAVLINK Product Team · Independent brand since 2010
wavlink.com/about-us →