

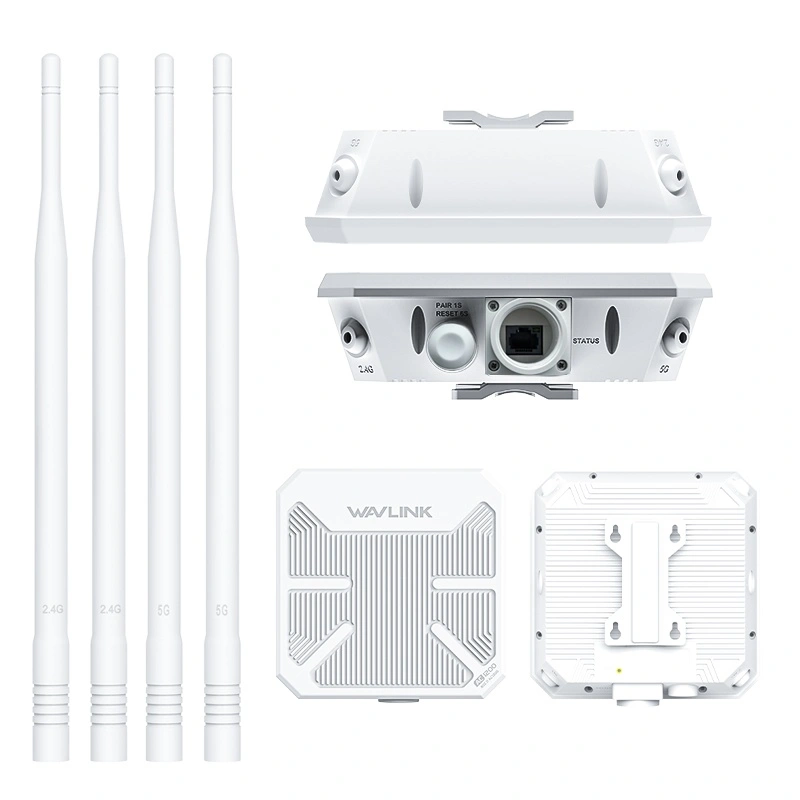

Do you ever catch yourself holding your phone up in the air, hunting for a signal that should be right there? Or does your video call freeze precisely when your boss asks you the one question you actually prepared for? You are not alone — and the culprit is probably not your internet plan. In fact, our engineering team has tested hundreds of home WiFi setups across 170 countries, and the most common causes of poor wireless performance are surprisingly simple to fix. They cost nothing, require zero technical expertise, and each takes less than two minutes. Before you call your ISP in frustration or drop three hundred dollars on a new router, work through these three adjustments first. One of them might be all you need.
- Router placement costs $0 and often doubles coverage. Moving your router from a corner or closet to the center of your home — even 3 feet — can eliminate dead zones without buying anything.
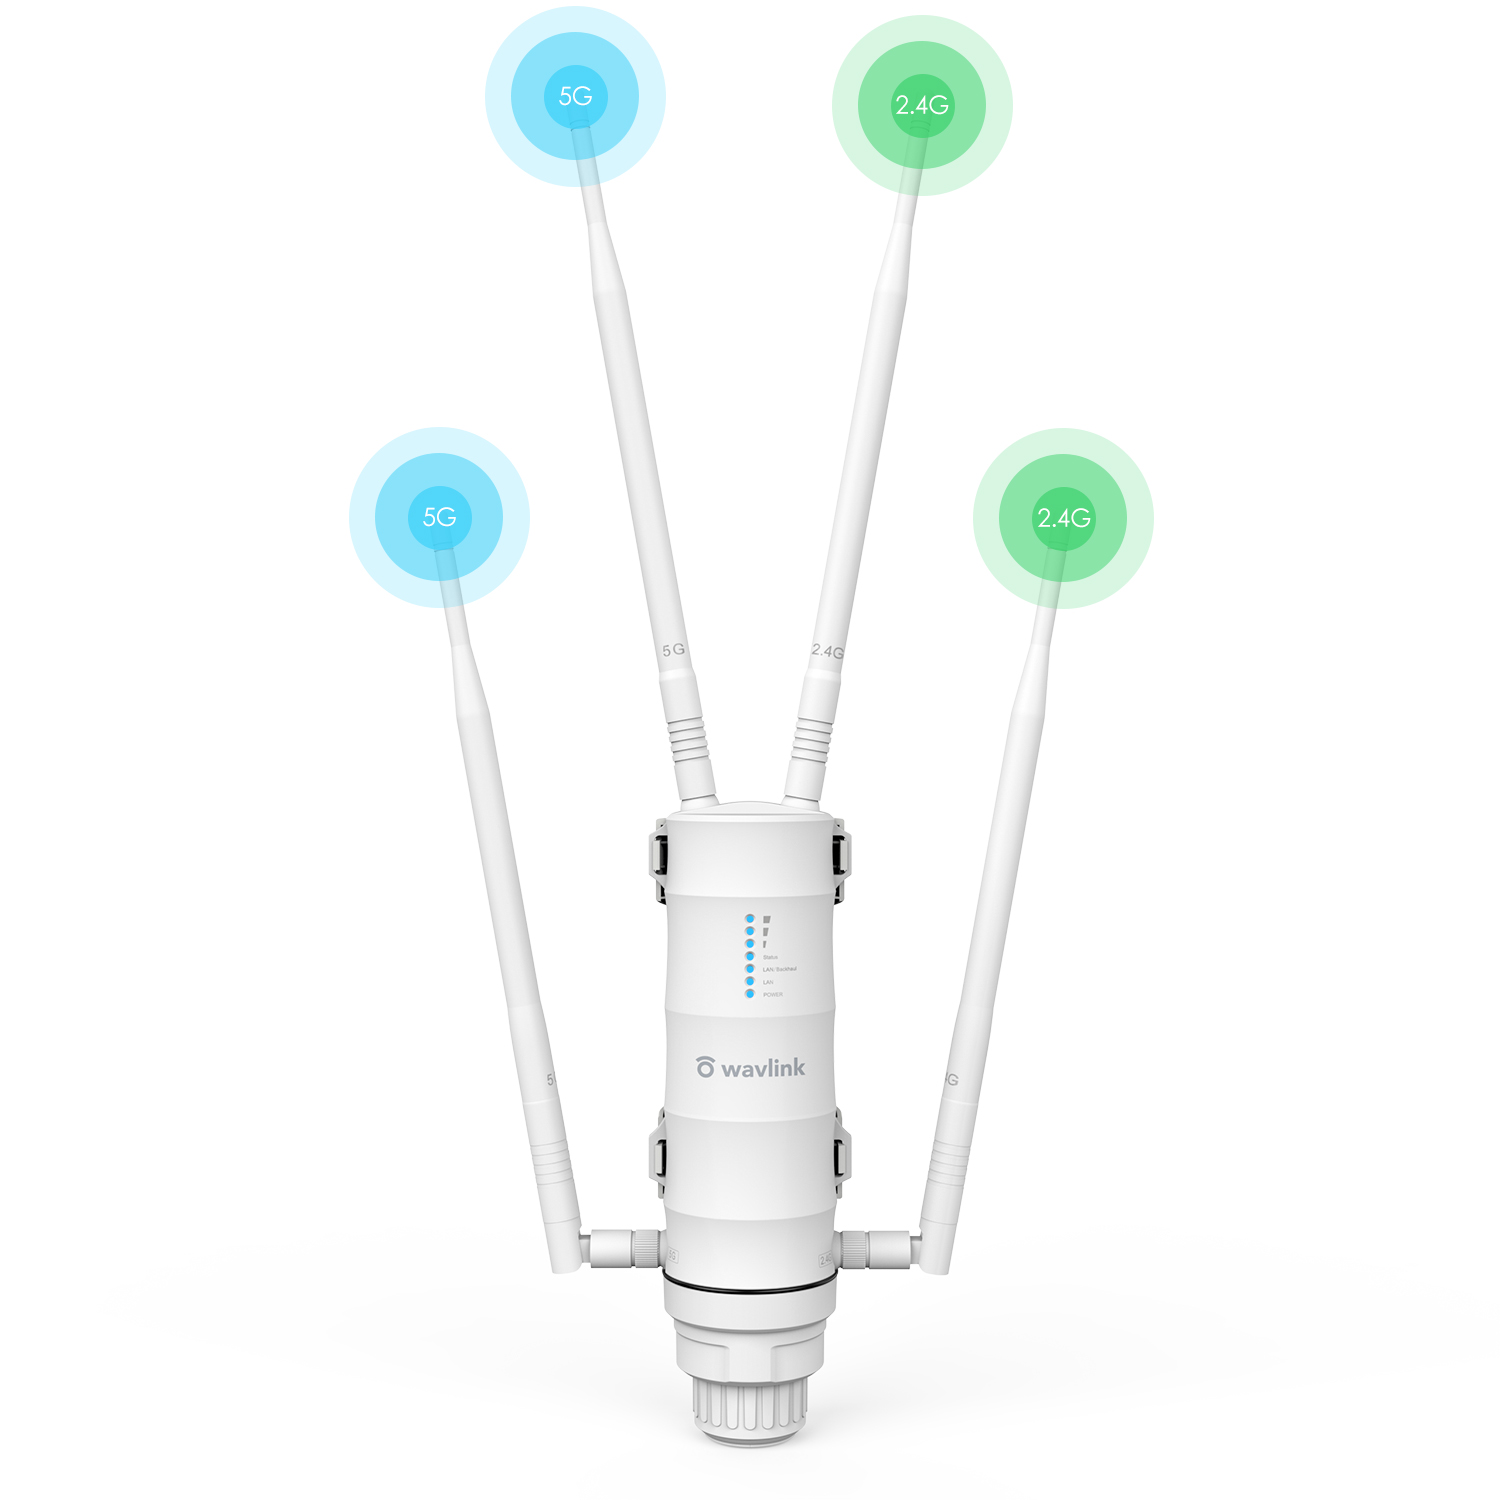
- Antenna angle is not random. WiFi signals broadcast outward perpendicular to the antenna. Keep most antennas vertical for same-floor coverage; tilt one sideways to reach upstairs or downstairs.
- Your neighbors are clogging your WiFi channel. Most routers default to the same crowded channel. Switching to a less congested one takes 2 minutes in your router's admin panel and can noticeably improve speed during evenings.
- If these three free tweaks don't fix it, your router is likely too old (pre-WiFi 6) or your home needs a mesh system or extender — not a more expensive internet plan.
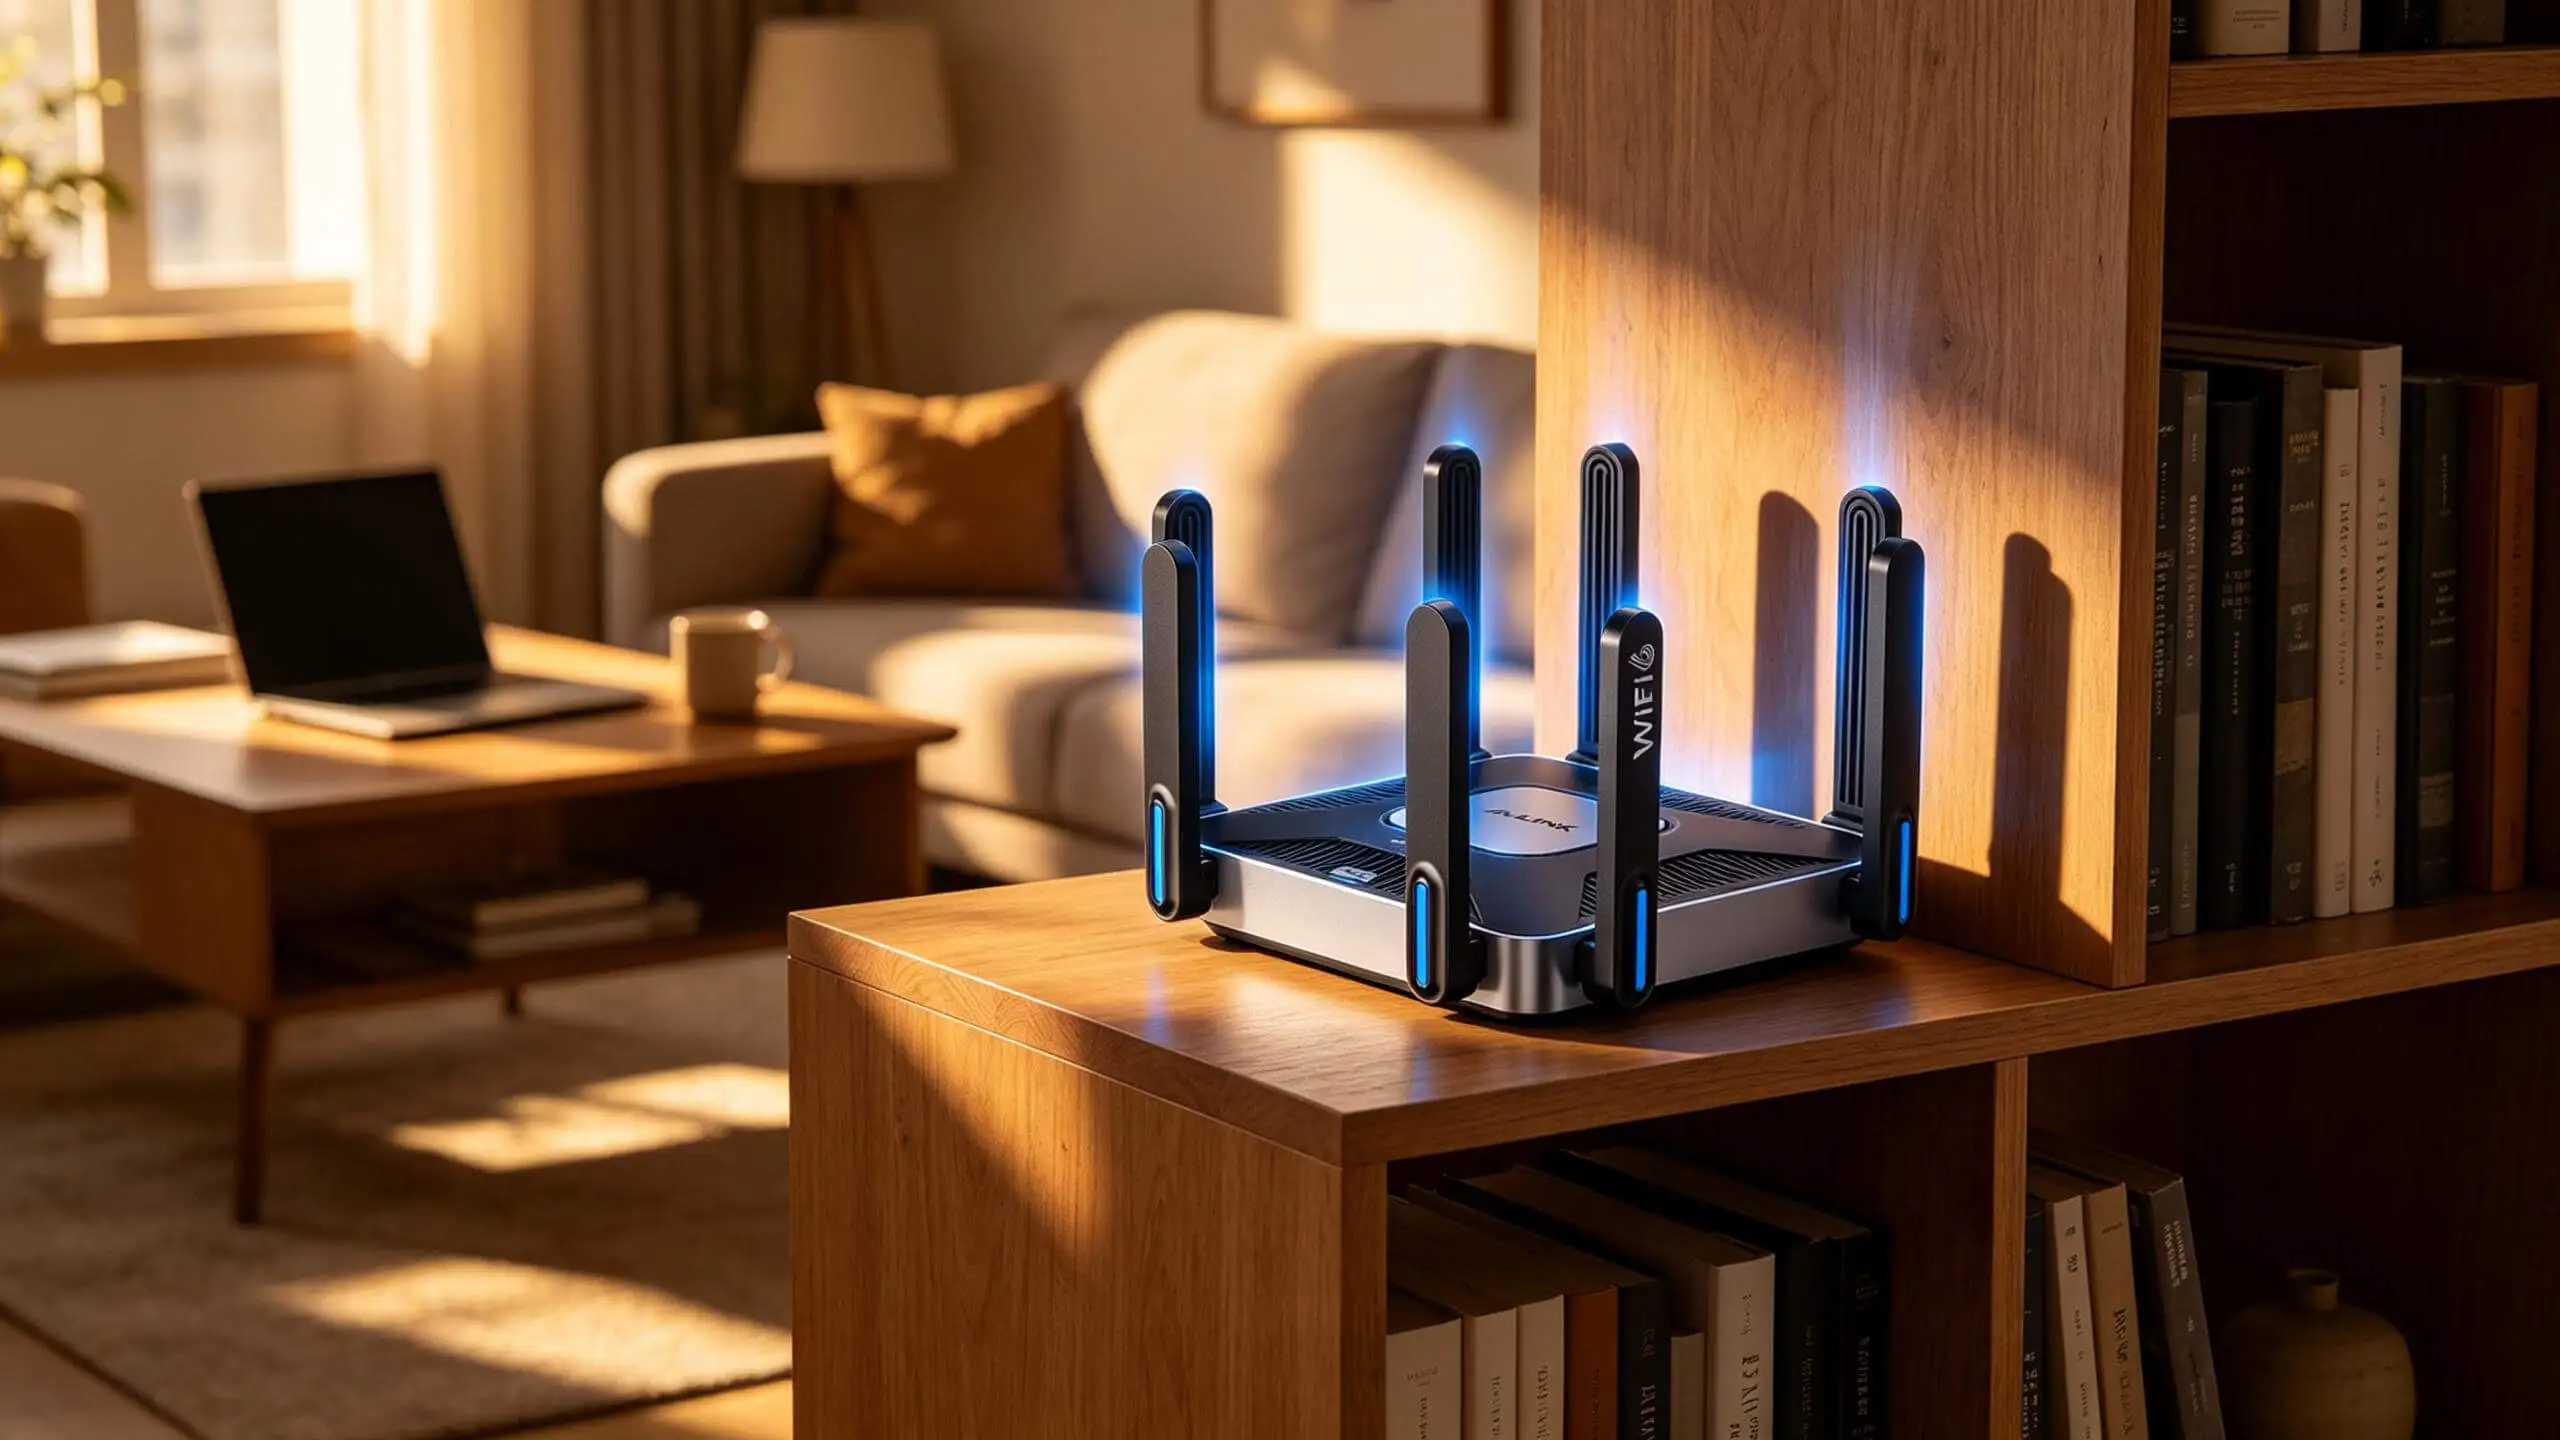
Tip 1: Move Your Router to the Center of Your Home
This sounds obvious, but it is the single most common mistake we see — and the most impactful to fix. WiFi signals travel outward in all directions from your router's antennas, forming a roughly spherical coverage pattern. Every wall, floor, ceiling, and large piece of furniture that signal encounters absorbs some of its energy. Drywall is relatively forgiving. Brick, concrete, metal studs, and tile are brutal. A single load-bearing wall can cut your signal strength by half or more.
When your ISP technician installed your router, they almost certainly placed it wherever the cable came into the house — typically an exterior wall in the corner of the living room or basement. That location was chosen for the technician's convenience, not your WiFi performance. From that corner, roughly half your router's signal is radiating uselessly into your yard, your neighbor's house, or the street. Meanwhile, the far bedrooms, the home office above the garage, and the kitchen at the opposite end of the house are all struggling with whatever weakened signal manages to bounce its way there.
The fix is simple in concept, though it may require some furniture Tetris in practice:
How to do it
- Find the geometric center of your living space. Walk to the middle of your home — not necessarily the living room, but the point that minimizes the distance to every regularly-used room. Most people can get within 10 feet of ideal without running new cabling.
- Get it off the floor. Place your router on a shelf, a bookcase, or mount it on the wall at roughly chest height or higher. WiFi signals propagate downward more effectively than upward, and a router sitting on the floor is fighting against every piece of furniture, every pair of feet, and every other obstacle between it and your devices.
- If you cannot move the router because the cable is too short: a longer Ethernet cable costs about ten dollars. Run it along the baseboard to the better location. The minor aesthetic tradeoff is worth the dramatic performance improvement.
What to keep the router away from
- Microwave ovens. They operate at 2.45 GHz — directly in the 2.4 GHz WiFi band. Every time you heat up leftovers, your microwave is blasting interference across the same frequencies your router uses. Six feet of separation is enough.
- Bluetooth speakers and wireless subwoofers. Bluetooth also operates in the 2.4 GHz range. Keep your router and your Bluetooth speaker on opposite sides of the room.
- Fish tanks and large water features. Water is remarkably effective at absorbing 2.4 GHz and 5 GHz radio waves. A large aquarium between your router and your desk is basically a signal black hole.
- Metal filing cabinets, large mirrors, and refrigerators. Metal reflects WiFi. Mirrors have a metallic backing that does the same thing. If your router is sitting next to a filing cabinet, half your signal is bouncing straight back at the wall.
- Dense masonry. Brick fireplaces, concrete pillars, and stone accent walls are signal killers. Route around them, not through them.
The rule to remember: Center. Elevated. Away from metal and water. Get these three things right, and you have already solved the biggest variable in home WiFi performance — without spending a single dollar.
Tip 2: Angle Your Antennas the Right Way
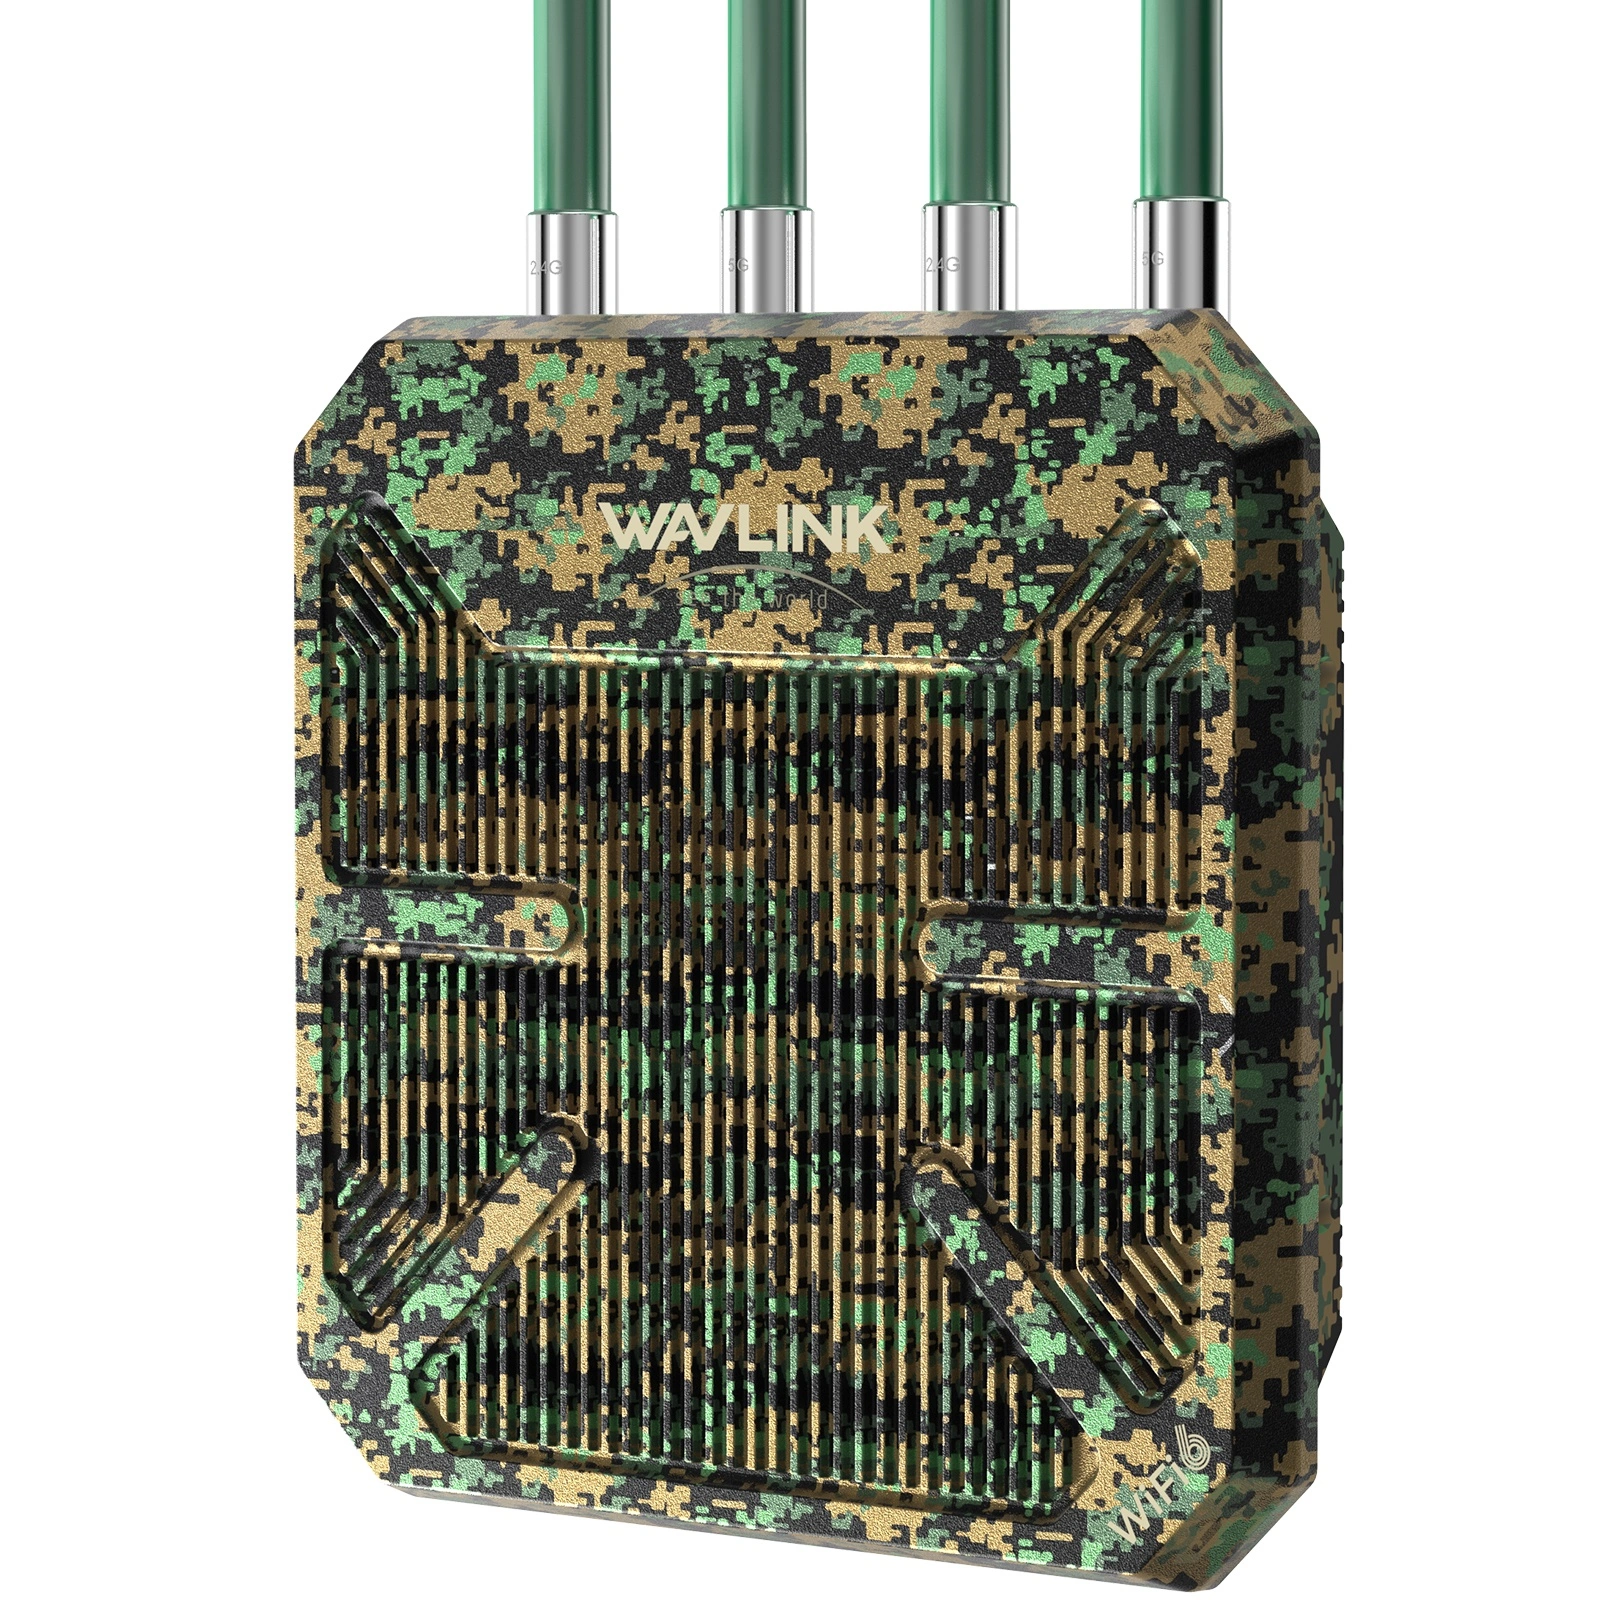
Most consumer routers ship with external omnidirectional antennas — usually two, three, or four of them, sticking up like plastic fins. "Omnidirectional" sounds like it means "signal goes everywhere equally," but that is not quite right. An omnidirectional antenna actually radiates in a flattened doughnut shape perpendicular to the antenna itself. If the antenna is vertical, the doughnut spreads horizontally — perfect for devices on the same floor. If the antenna is tilted, the doughnut tilts with it, sending more signal upward or downward.
Walk through any house with a router and you will see antennas pointing in every possible direction — straight up, angled randomly, one bent sideways because someone knocked into it and never fixed it. This is leaving performance on the table. Here is the correct configuration for your situation:
How to do it
- Single-floor home or apartment: Position every antenna straight up, perfectly vertical. This maximizes horizontal coverage across your floor — exactly where your phone, laptop, TV, and gaming console are sitting. All antennas should be parallel to each other, forming a neat row.
- Two-story house or townhouse: Tilt roughly half the antennas at a 45-degree angle, alternating between vertical and angled positions. The vertical antennas handle devices on the same floor. The angled ones push signal upward and downward, covering bedrooms upstairs and the basement below. This gives you three-dimensional coverage without buying additional hardware.
- Three or more stories: If you have a basement and two floors above, angle the outer antennas at roughly 30 degrees from vertical — one tilted slightly up, one slightly down — and leave the middle antenna straight vertical. This creates overlapping coverage zones that fill the entire vertical space.
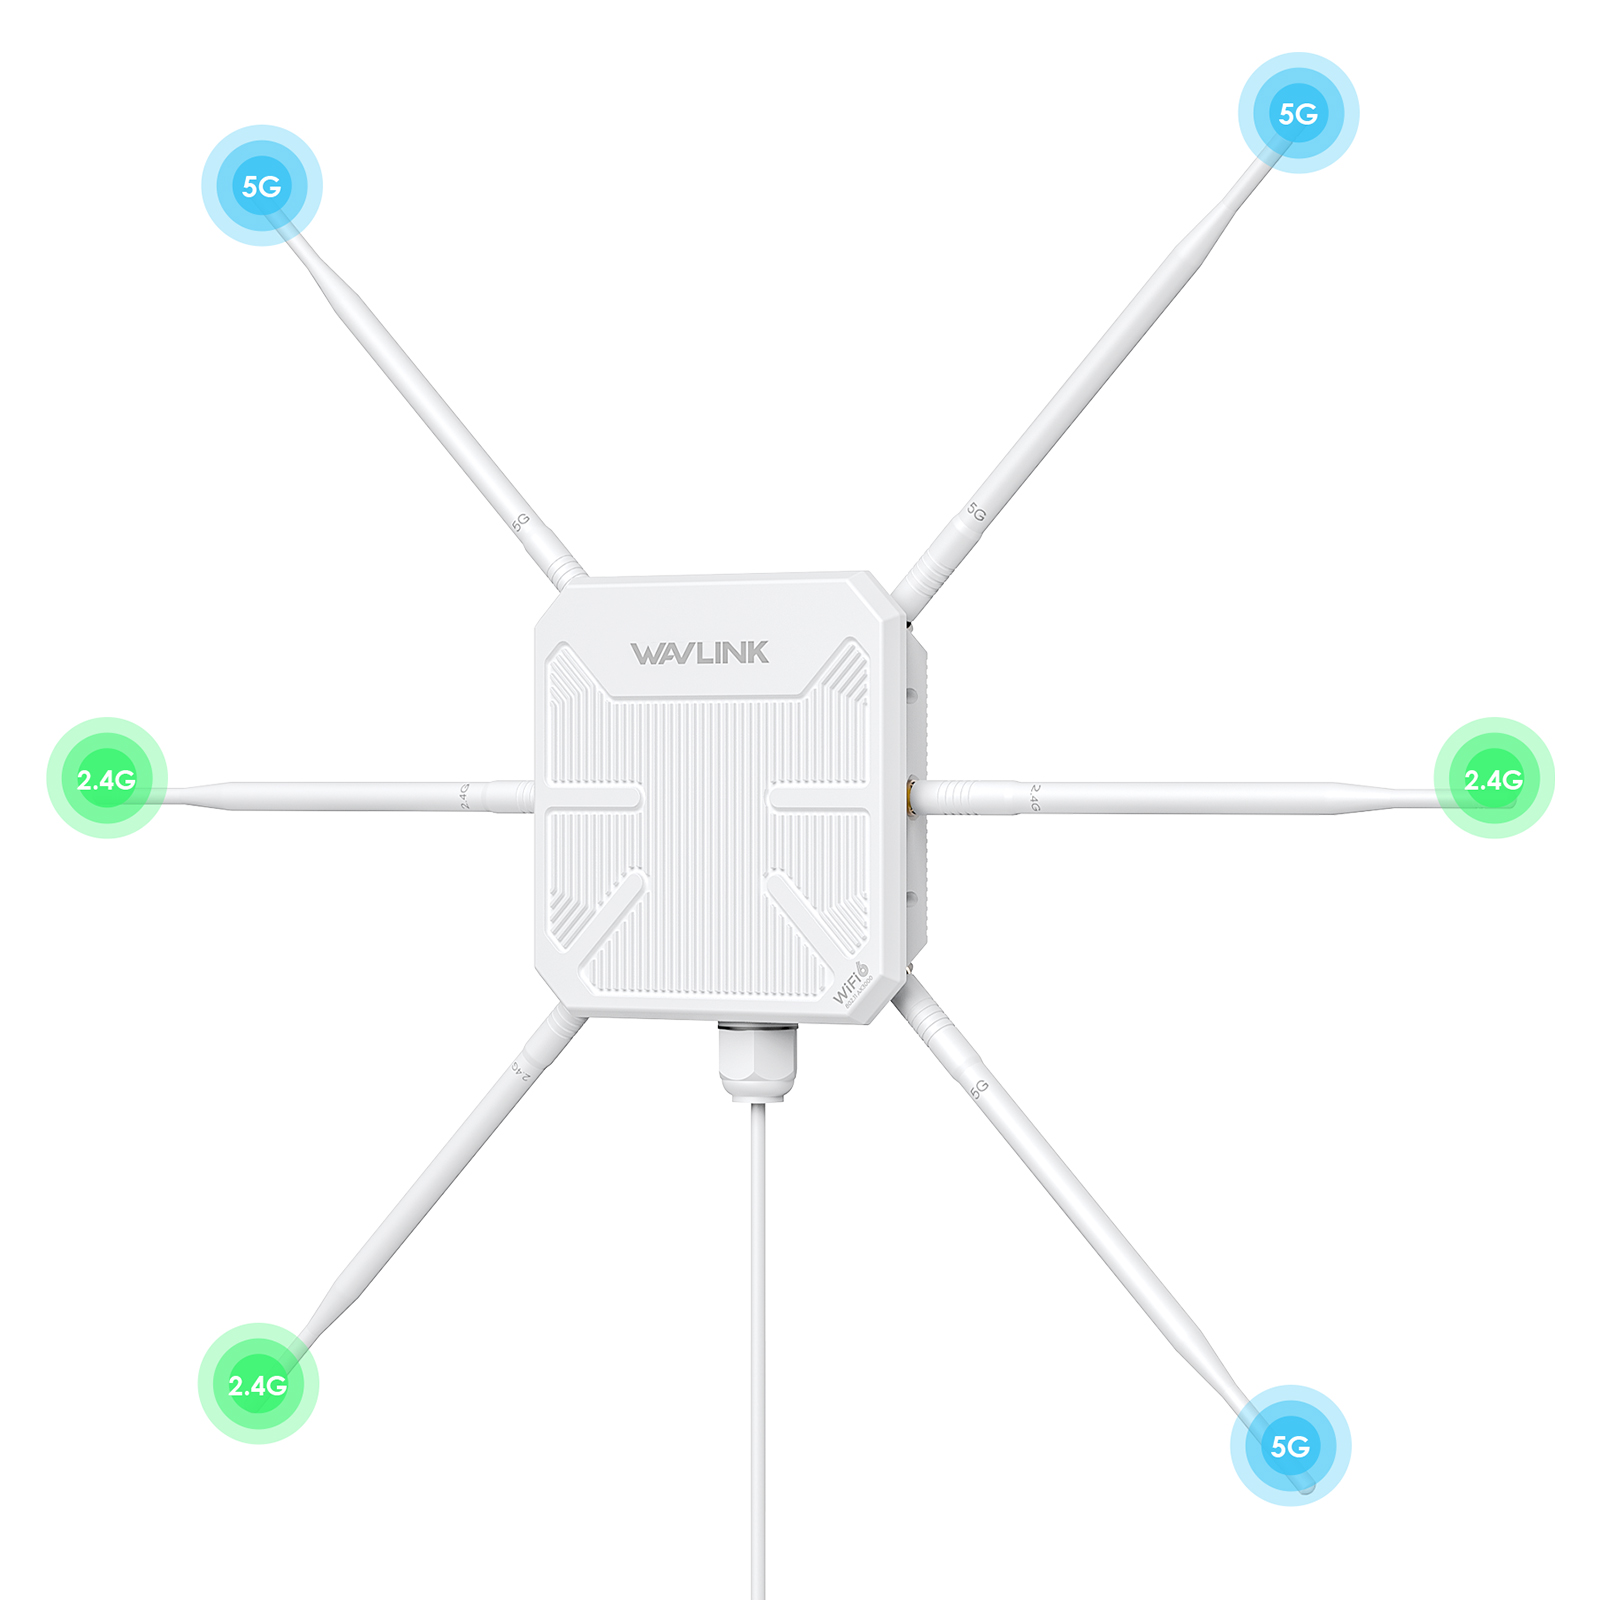
One more thing, and this matters more than you might think: never point all your antennas in exactly the same direction. Stagger them. Each antenna is an independent floodlight. You want their beams to overlap and fill the room. If all four are aimed at the same spot, you have created a very bright hotspot — and a very dark everything else.
Our field engineers have measured signal strength improvements of 30 to 50 percent from antenna positioning alone in real home environments. It costs nothing. It takes thirty seconds. And once you set them correctly, you never have to touch them again.
Tip 3: Switch to a Less Crowded WiFi Channel
Every WiFi router in your neighborhood is broadcasting on the same limited set of radio channels — and in most residential areas, the vast majority of them are all piled onto the same one. This is because the default "Auto" setting on most routers gravitates toward a handful of popular channels, especially channel 6 on the 2.4 GHz band. When a dozen routers within range are all shouting on the same frequency, your devices have to wait their turn, decode garbled overlapping transmissions, and retry failed packets — and you experience this as buffering, lag, and pages that take just a little too long to load.
To understand why this matters, think of WiFi channels like lanes on a highway. On the 2.4 GHz band, there are only three non-overlapping channels: 1, 6, and 11. Every other channel number bleeds into one of these three. If your router and nine of your neighbors are all on channel 6, you are sharing that lane with nine other cars, constantly slowing down and speeding up. Switch to channel 1 or 11, and suddenly you have the lane almost to yourself. Same highway. Completely different experience.
The 5 GHz band is roomier — it has 24 non-overlapping channels — but the same principle applies. Channels at the lower end of the band, especially 36 through 48, tend to be less congested because fewer routers default to them.
How to do it
- Log into your router's admin page. Open any web browser and type
192.168.0.1or192.168.1.1into the address bar. If neither address works, check the sticker on the bottom or back of your router — it usually lists the default gateway address along with the default username and password. Most routers use "admin" and "password," which you should absolutely change if you have not already. - Navigate to Wireless Settings. The exact menu name varies by brand — it might be called "Wireless," "WiFi Settings," "Radio," or "Advanced Wireless." Look for a field labeled "Channel."
- Switch from Auto to a specific channel.
- For the 2.4 GHz band: Choose channel 1, 6, or 11. These are the only three that do not overlap with each other. If you want a more scientific approach, download a free WiFi analyzer app on your phone (like WiFi Analyzer for Android or AirPort Utility for iPhone with WiFi Scan enabled). It will show you exactly which channels your neighbors are using, so you can pick the emptiest one.
- For the 5 GHz band: Choose a channel between 36 and 48 or between 149 and 165. These ranges are typically the least congested in residential areas. Avoid the DFS channels (52 through 144) unless you know your router handles them well — they are shared with radar systems and your router may be forced to vacate them unexpectedly.
- Save your settings. Your router will apply the change and may restart its WiFi radio momentarily — this is normal and usually takes less than 30 seconds.
If you want to verify the improvement, run a speed test before and after the channel change, standing in the same spot. The download speed may not change much — your internet plan is the bottleneck there — but you should see a noticeable improvement in latency (ping time) and jitter, which are what actually make web browsing feel snappy and video calls feel smooth.
What If These Three Tweaks Don't Fix It?
Try all three. They address the three most common and most impactful causes of poor home WiFi: physical placement, antenna configuration, and channel congestion. Between them, they cover the majority of real-world performance issues we encounter in field testing.
If you have worked through all three and your WiFi is still unreliable — especially if you are dealing with persistent dead zones in certain rooms, or if your network slows to a crawl when multiple people are online — then your router itself may genuinely be the bottleneck. A router that is more than five or six years old, particularly one using the WiFi 4 (802.11n) or early WiFi 5 (802.11ac) standard, simply was not designed for the number of devices and the bandwidth demands of a modern household. Ten years ago, a typical home had maybe five connected devices. Today, a family of four easily has thirty — phones, laptops, tablets, smart TVs, game consoles, smart speakers, security cameras, doorbells, thermostats, and more, all fighting for airtime.
If you have done the free fixes and are ready for an upgrade, our WiFi 6 routers are designed for exactly this scenario — whole-home coverage with smart features like band steering, automatic channel selection, and MU-MIMO that handles multiple devices simultaneously instead of one at a time. For larger homes with multiple floors or stubborn dead zones, a Mesh WiFi system uses multiple strategically-placed nodes that work together as a single seamless network — no dead zones, no dropped connections, no switching between different network names as you walk from room to room.
Next in this series: 2.4GHz vs 5GHz vs 6GHz — Which WiFi Band Should You Actually Use? Now that your router is in the right place with the right settings, learn how to make sure your devices are actually connecting to the right frequency band.
WAVLINK serves over 2 million families in 170+ countries. Every tip in this guide has been tested by our engineering team in real homes, across real construction materials, with real interference from real neighbors. We do not test in an empty lab because your house is not an empty lab.
Frequently Asked Questions
Why is my WiFi so slow even though I have fast internet?
Your internet plan determines how much data can enter your home, but your WiFi router determines how that data actually reaches your phone, laptop, and TV. Three of the most common causes of poor WiFi have nothing to do with your internet speed: the router being stuck in a corner or hidden behind furniture, antennas pointed in random directions, and your router broadcasting on the same crowded wireless channel as a dozen of your neighbors. Before you call your ISP or upgrade to a more expensive plan, try the three free fixes covered in this guide — relocate your router to the center, adjust your antennas for your floor plan, and switch to a less congested channel. Each takes under two minutes and costs nothing.
Where should I place my WiFi router for the best signal?
Find the geometric center of your home — the point that minimizes distance to every room you actually use — and place the router there, elevated at roughly chest height or higher on a shelf, bookcase, or wall mount. Never leave it on the floor. Keep it at least six feet away from microwave ovens (which blast 2.45GHz interference), Bluetooth speakers, fish tanks and water features (water absorbs WiFi signals), metal filing cabinets and large mirrors (metal reflects signals), and dense brick or concrete walls. If the internet cable enters your home in an inconvenient corner, a longer Ethernet cable costs about ten dollars — run it along the baseboard to the better location. The tradeoff is worth it.
How should I angle my WiFi router antennas?
The correct antenna configuration depends on your floor plan. Single-floor home or apartment: all antennas straight up, perfectly vertical, parallel to each other in a neat row. This maximizes horizontal coverage where your devices actually sit. Two-story house: alternate between vertical and 45-degree angled positions. The vertical antennas handle same-floor devices; the angled ones push signal to the floor above and below. Three or more stories: angle the outer antennas about 30 degrees from vertical — one slightly up, one slightly down — and keep the center antenna vertical. The most important rule: never point all antennas in the exact same direction. Stagger them like overlapping floodlights.
How do I change my WiFi channel to reduce interference?
Open your browser and type 192.168.0.1 or 192.168.1.1 into the address bar — this is your router's admin page. Log in, then navigate to Wireless Settings and find the Channel option. Switch it from Auto to a specific channel. For the 2.4GHz band, use channel 1, 6, or 11 — these are the only three that do not overlap with each other. For the 5GHz band, channels 36 through 48 and 149 through 165 are usually the least crowded in residential areas. Avoid DFS channels (52—144) unless you know your router handles them well. Save the setting, wait 30 seconds for the router to apply the change, and you should see lower latency and smoother browsing immediately. For a more precise channel selection, download a free WiFi analyzer app to see exactly which channels your neighbors are using.
When should I stop trying to fix my router and just upgrade?
Try all three free fixes first — placement, antennas, and channel. If your WiFi is still unreliable after all three, especially with persistent dead zones or slowdowns when multiple people are online, your router itself is likely the bottleneck. A router that is more than five years old using WiFi 4 (802.11n) or early WiFi 5 (802.11ac) was designed for a world where a typical home had maybe five connected devices. A family of four today easily has over thirty. A modern WiFi 6 router with band steering, automatic channel selection, and MU-MIMO technology can handle dozens of simultaneous devices and deliver seamless whole-home coverage. For larger homes, a Mesh WiFi system with multiple nodes eliminates dead zones entirely by creating a single unified network.